⚠️ Disclaimer – Project Preview Only
Medx Internal Tickting System
I developed a complete internal ticketing system for MedX to efficiently manage internal tasks, support requests, and team communication. The platform includes role-based access control, automated ticket assignment, and leave request management, ensuring smooth workflow across departments. It also integrates ZeptoMail for reliable email notifications and timely communication between employees and administrators.
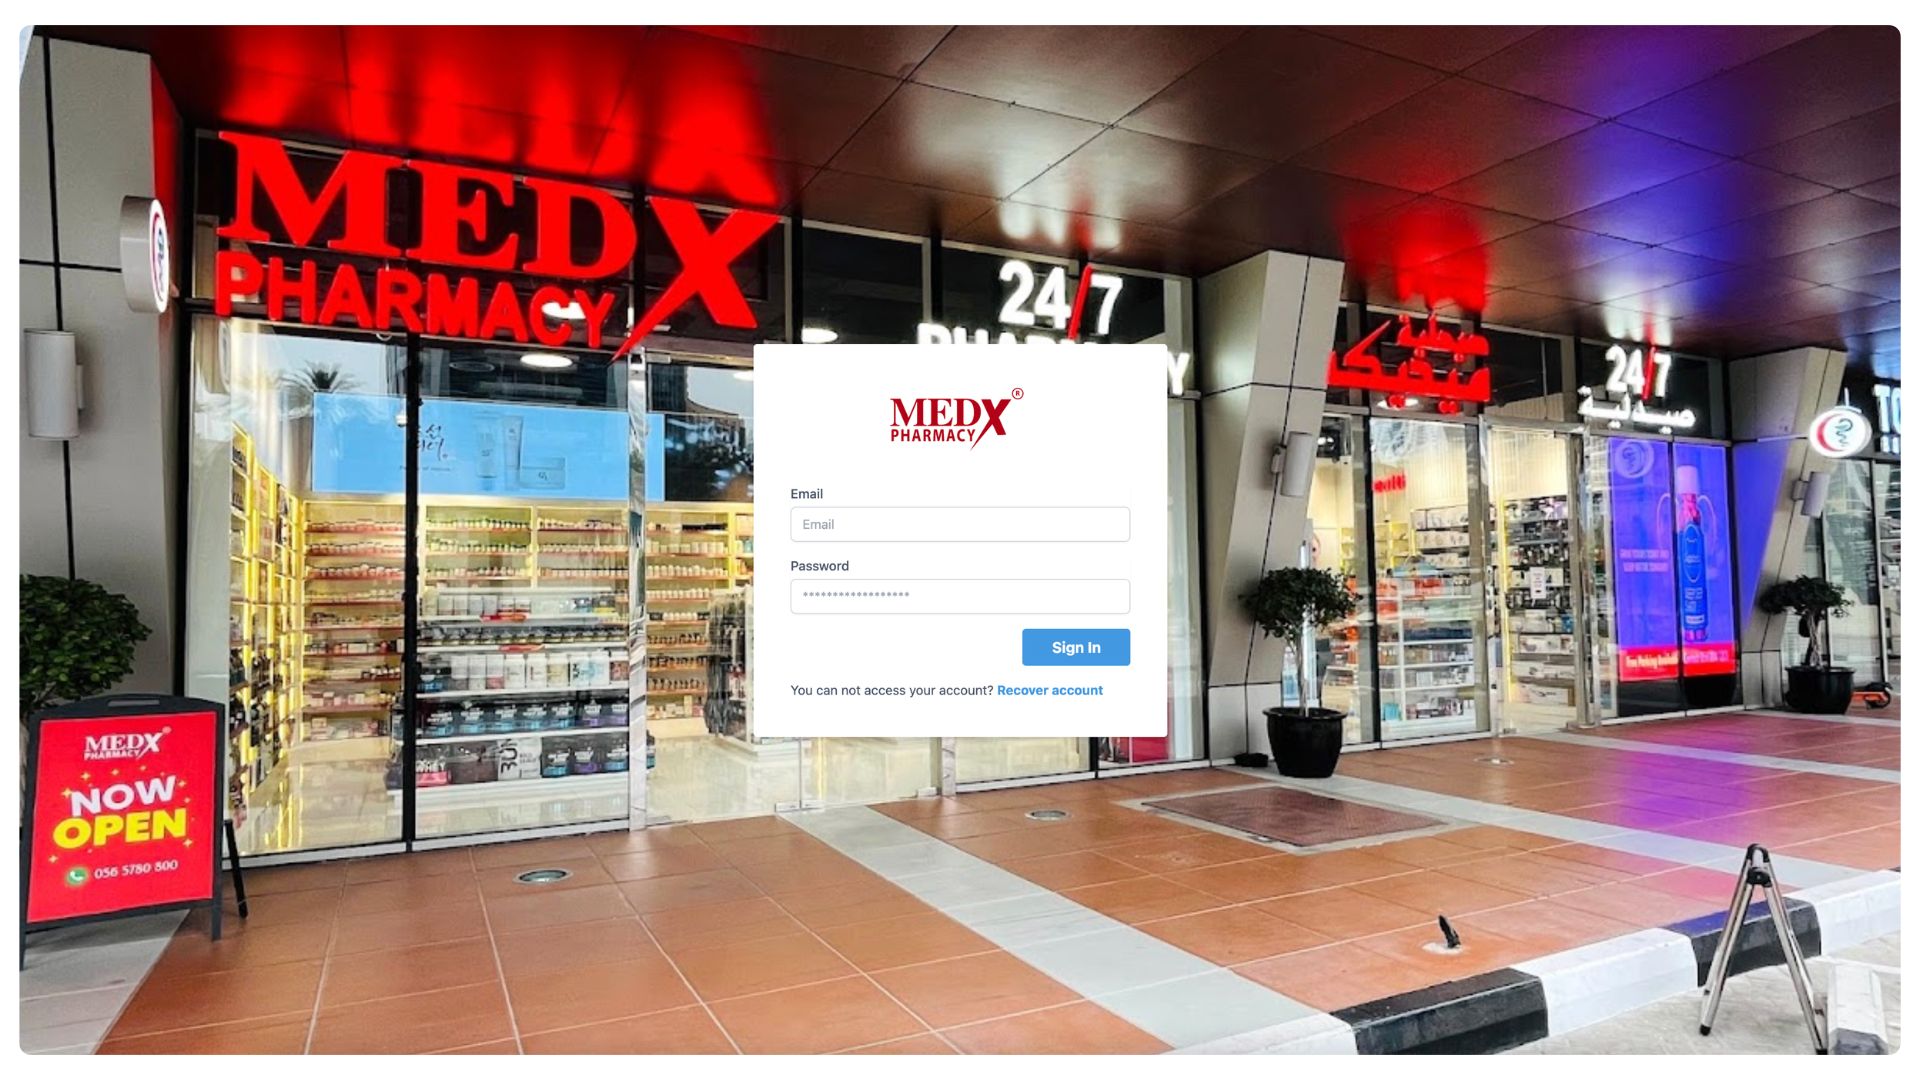
Login Page
Secure login interface for administrators to access the internal ticketing system.
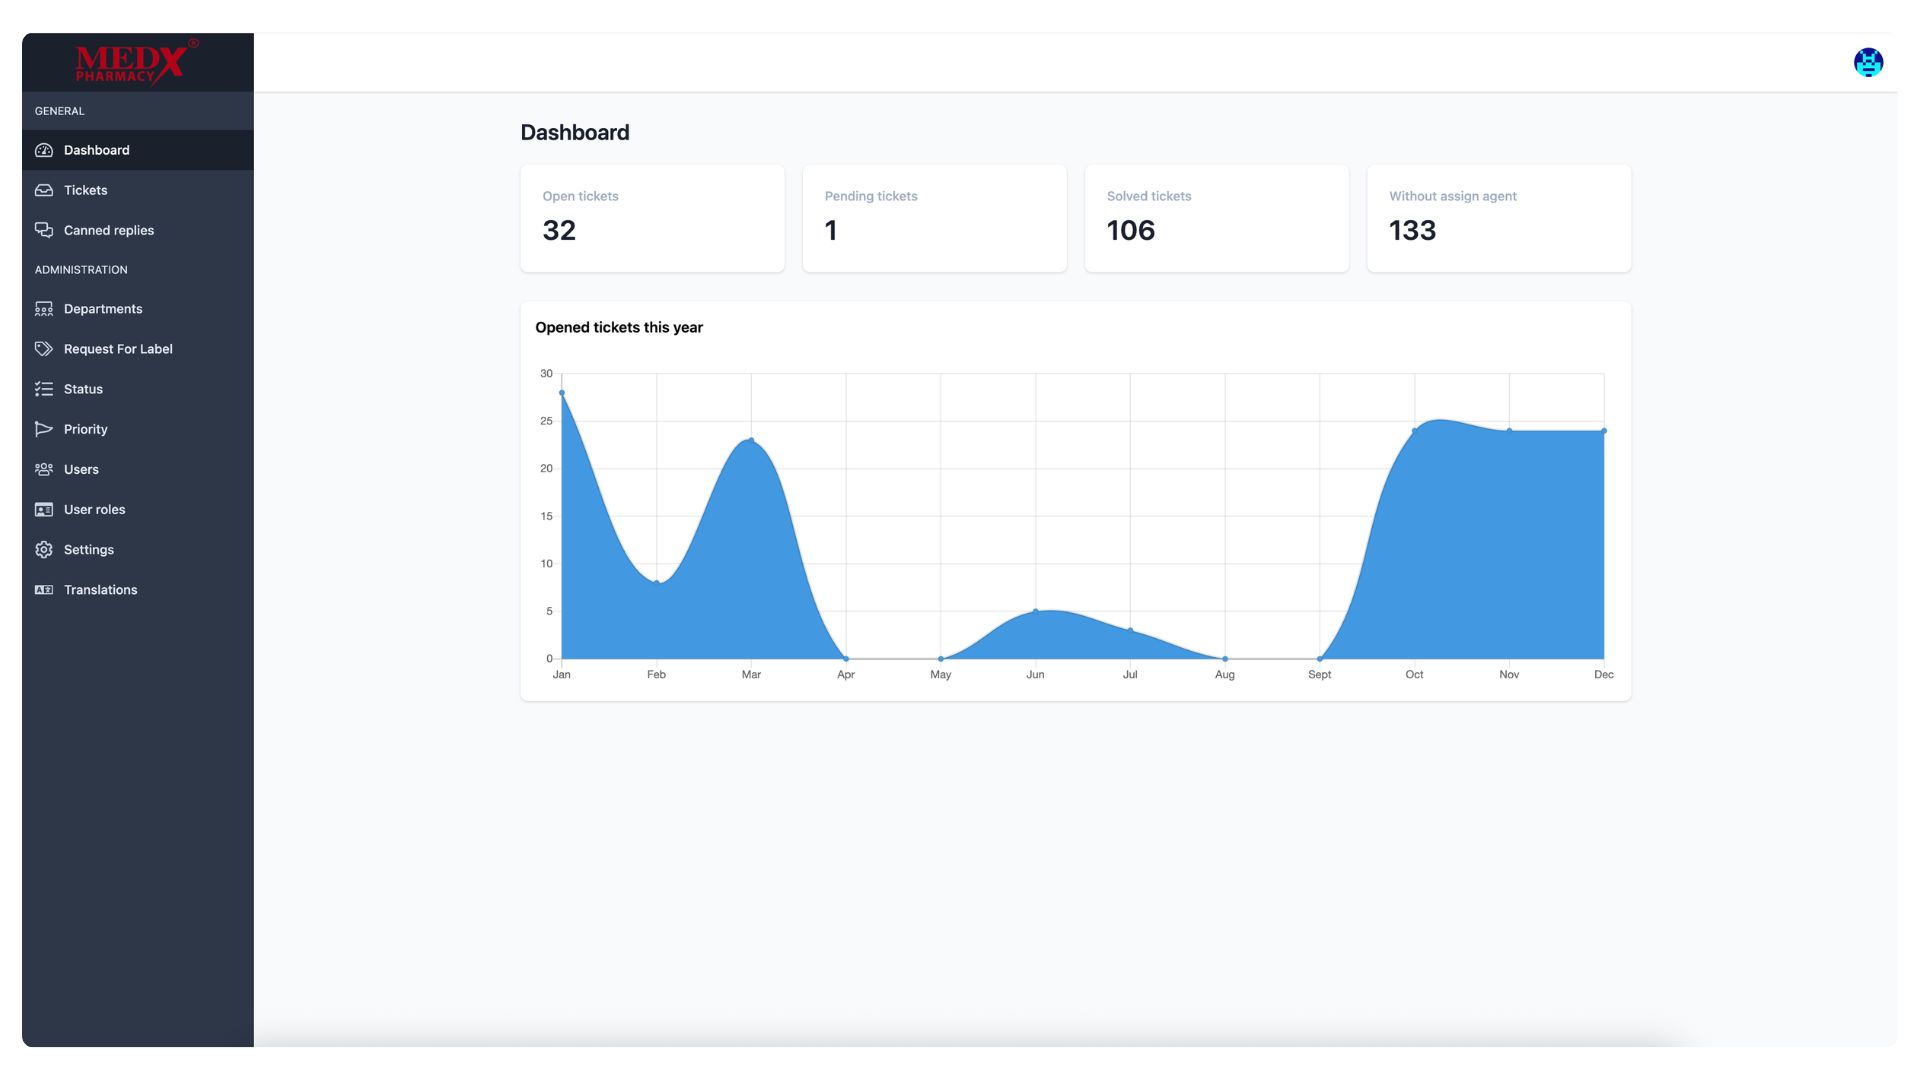
Dashboard
Admin dashboard showing ticket statistics, pending requests, and system activity overview.
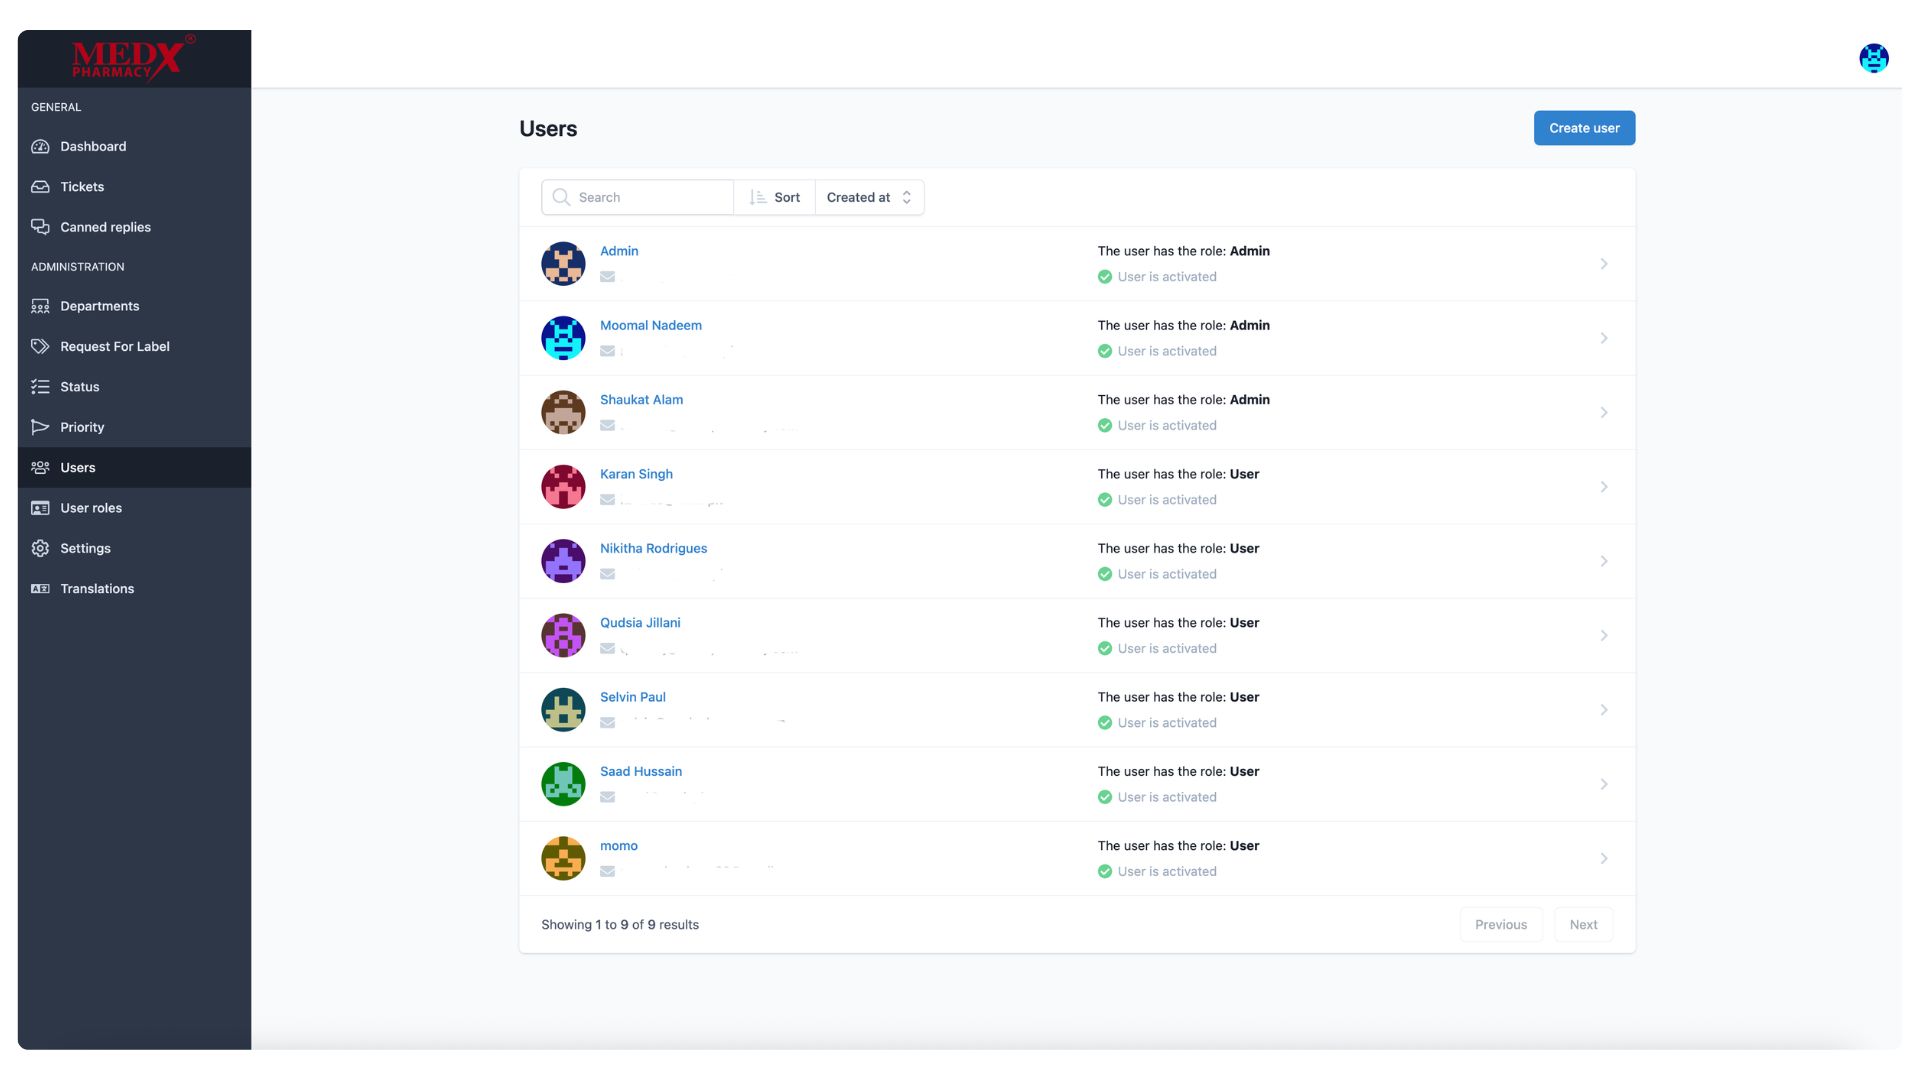
Users List
The Users page displays a list of all registered users on the ticketing platform, showing each user's name, assigned role (Admin or User), and activation status. Currently there are 9 users in the system, with 3 assigned the Admin role and the rest as regular Users, all of whom are active. Administrators can search, sort, create new users via the (Create user) button, and click on any user to view or edit their details.
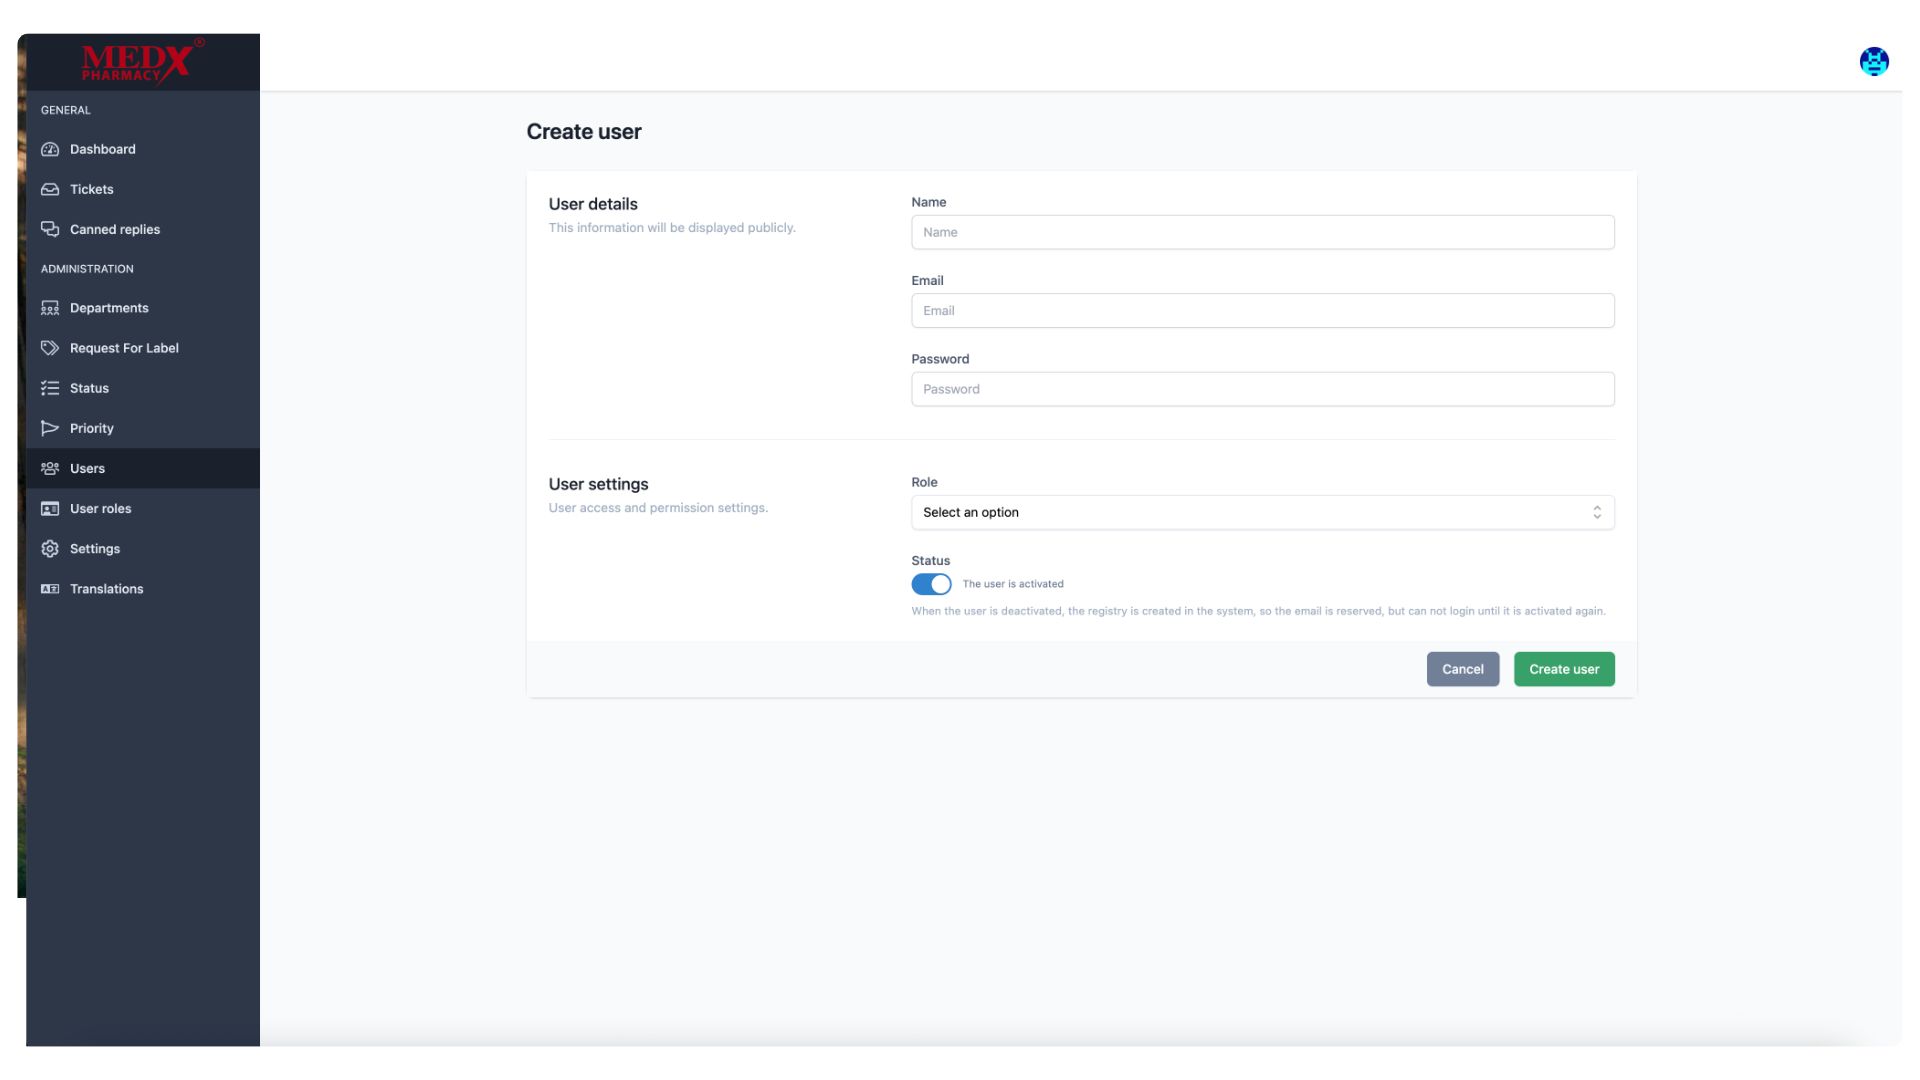
Create User
The Create User page allows administrators to manually add a new user to the ticketing platform by filling in their Name, Email, and Password under User Details. In the User Settings section, admins can assign a Role and set the account Status as active or inactive. Once all details are filled in, clicking (Create user) adds the new user to the system immediately.
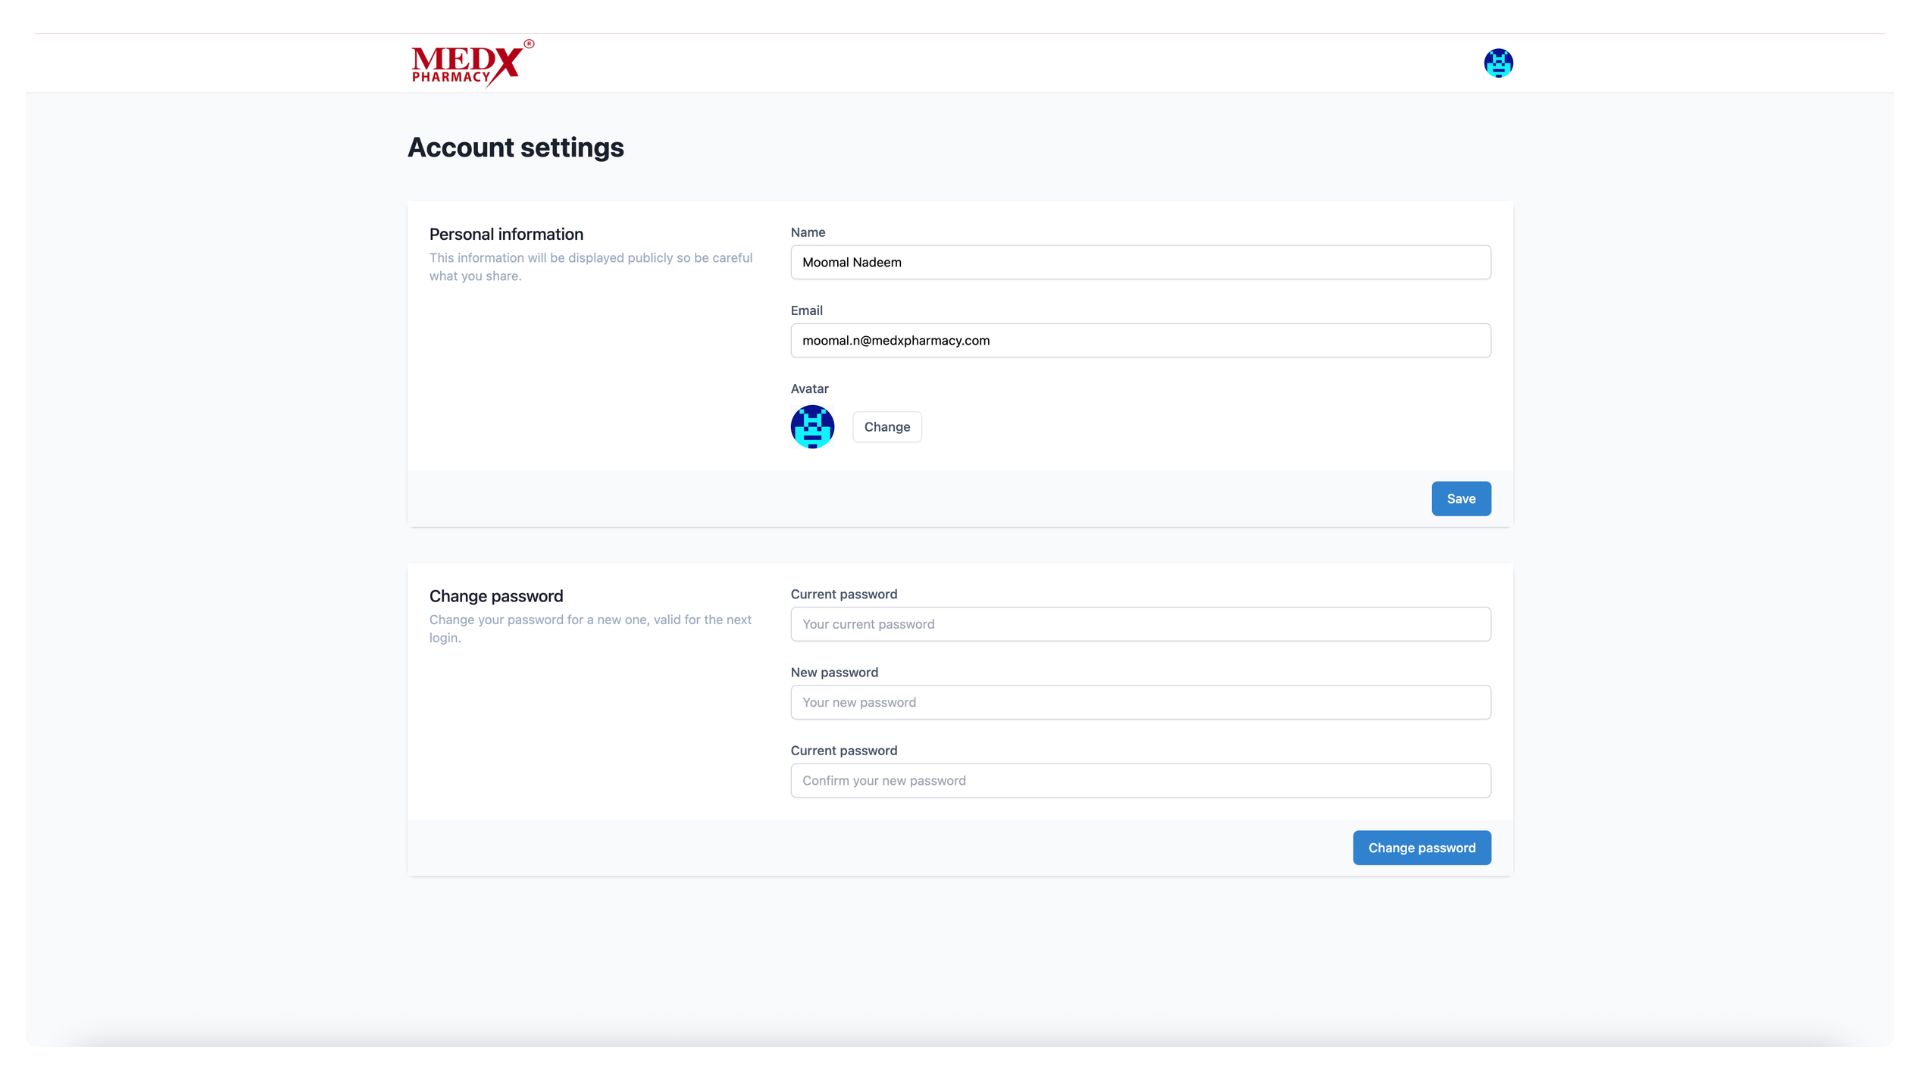
Edit User
The Account Settings page allows individual users to manage their own profile information, including their Name, Email, and Avatar. It also includes a Change Password section where users can update their password by entering their current password and setting a new one. This page is accessible to each logged-in user to keep their personal account details up to date.
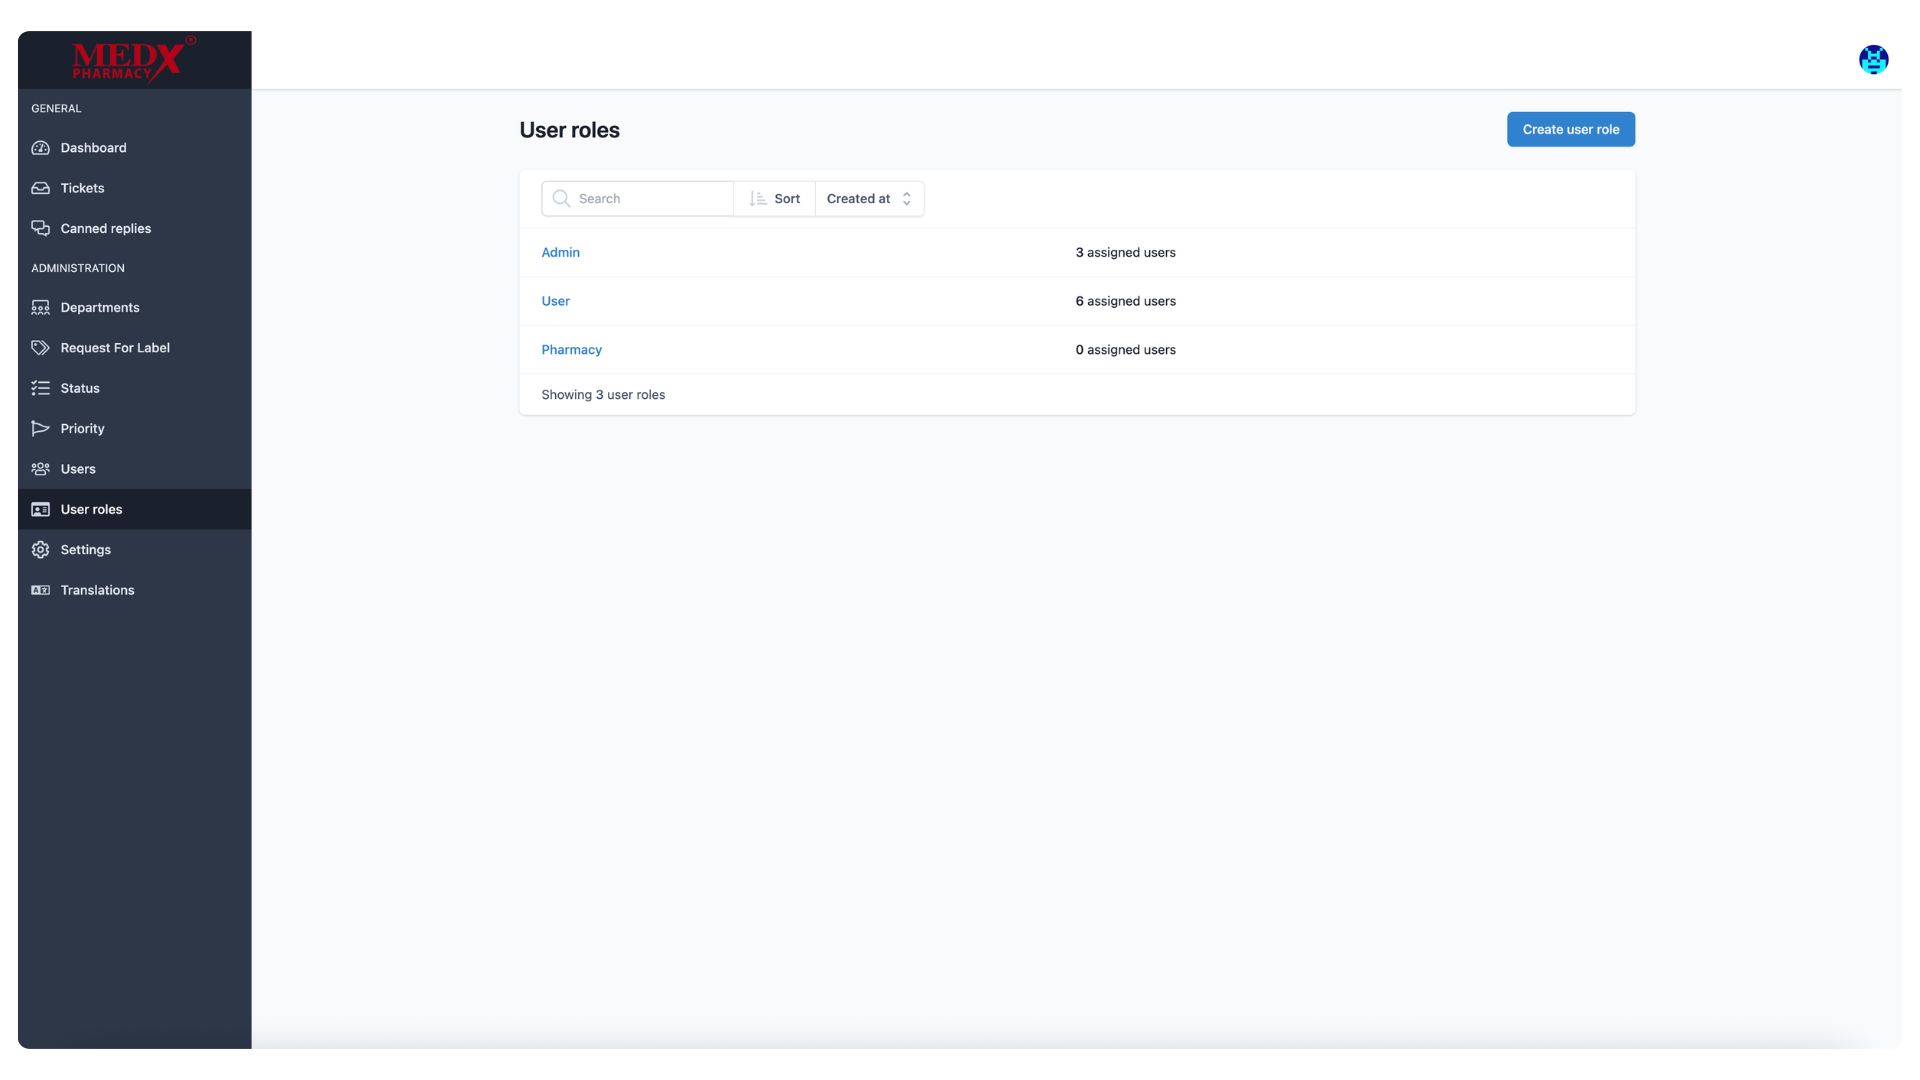
Users Role List
The User Roles page displays all the roles defined within the ticketing platform, currently showing three roles — Admin (3 users), User (6 users), and Pharmacy (0 users). These roles control the level of access and permissions each user has across the system. Administrators can create new roles using the (Create user role) button and click on any existing role to edit its permissions or details.
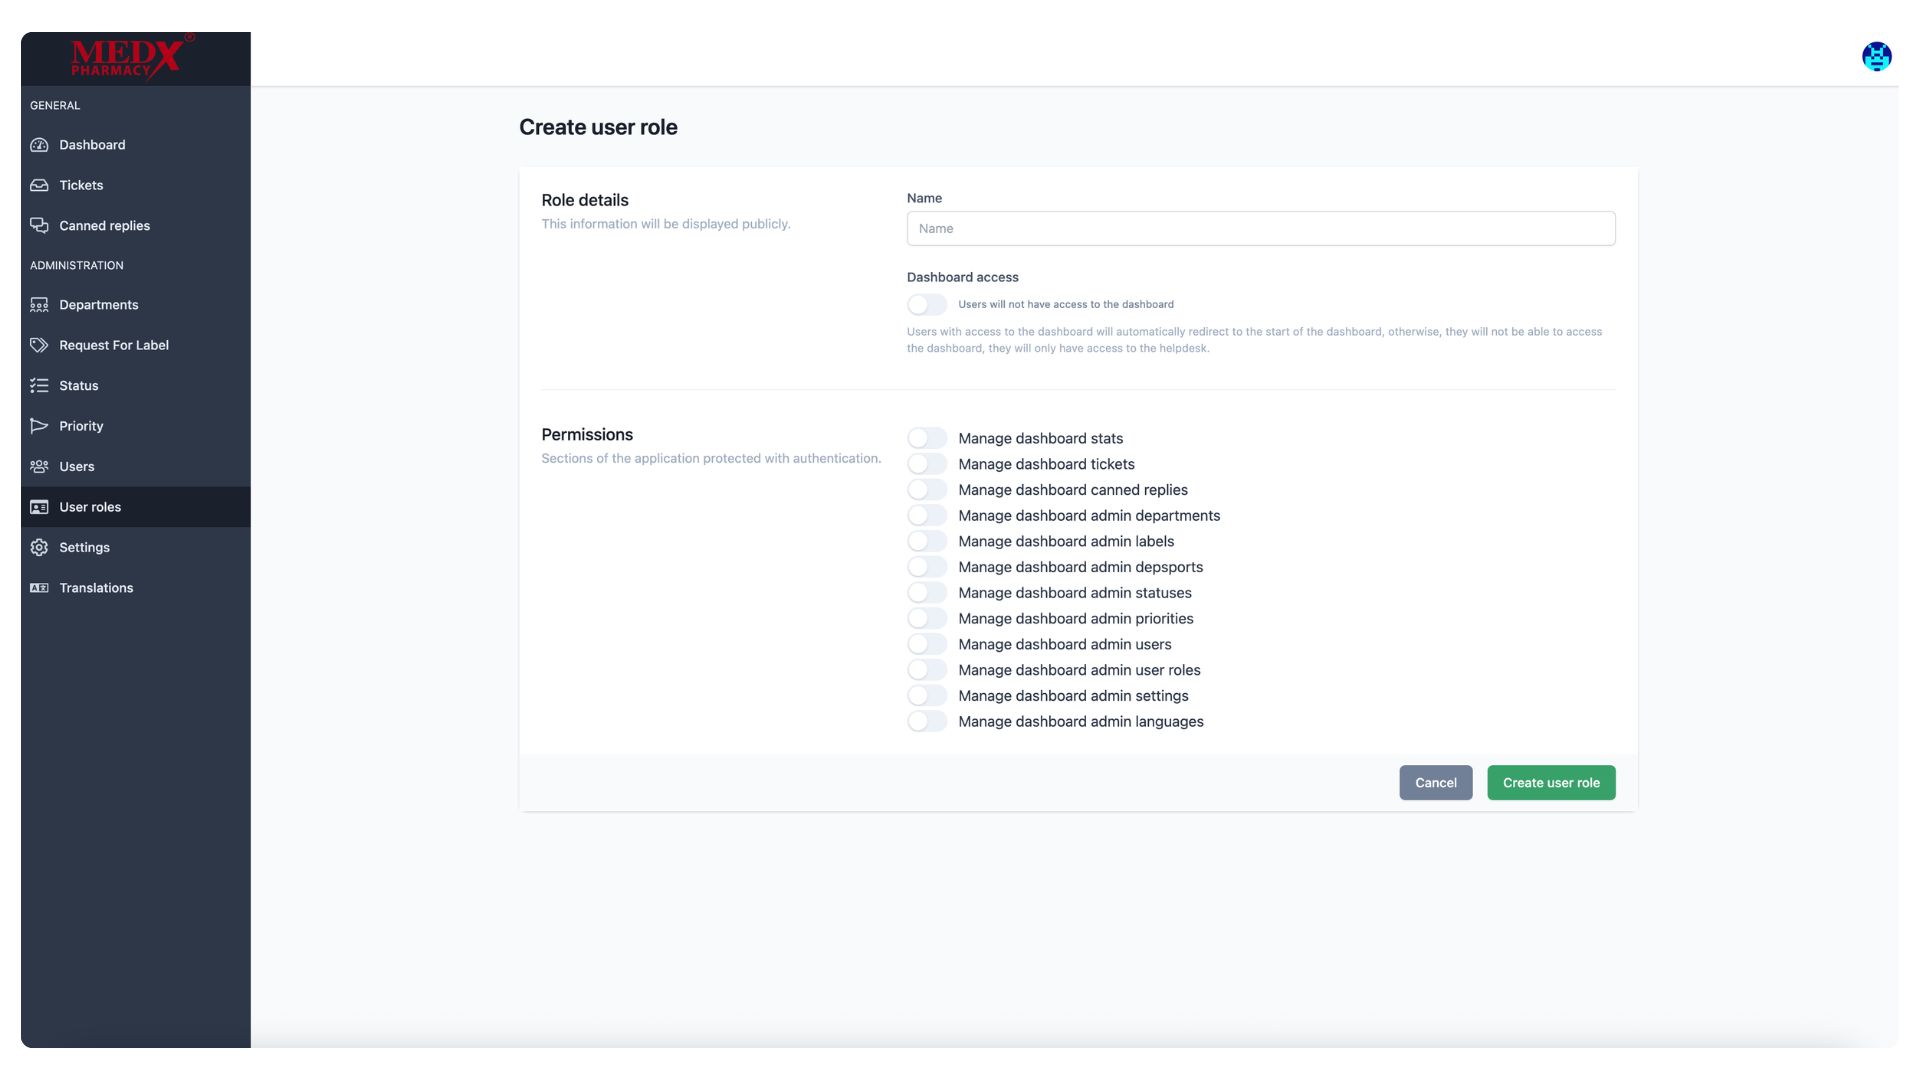
Create User Role
SThe Create User Role page allows administrators to define a new role by entering a name and configuring its access level within the platform. Admins can toggle Dashboard Access and individually enable or disable granular permissions such as managing tickets, canned replies, departments, users, settings, and more. This gives full flexibility to create custom roles with only the specific access rights required for that group of users.
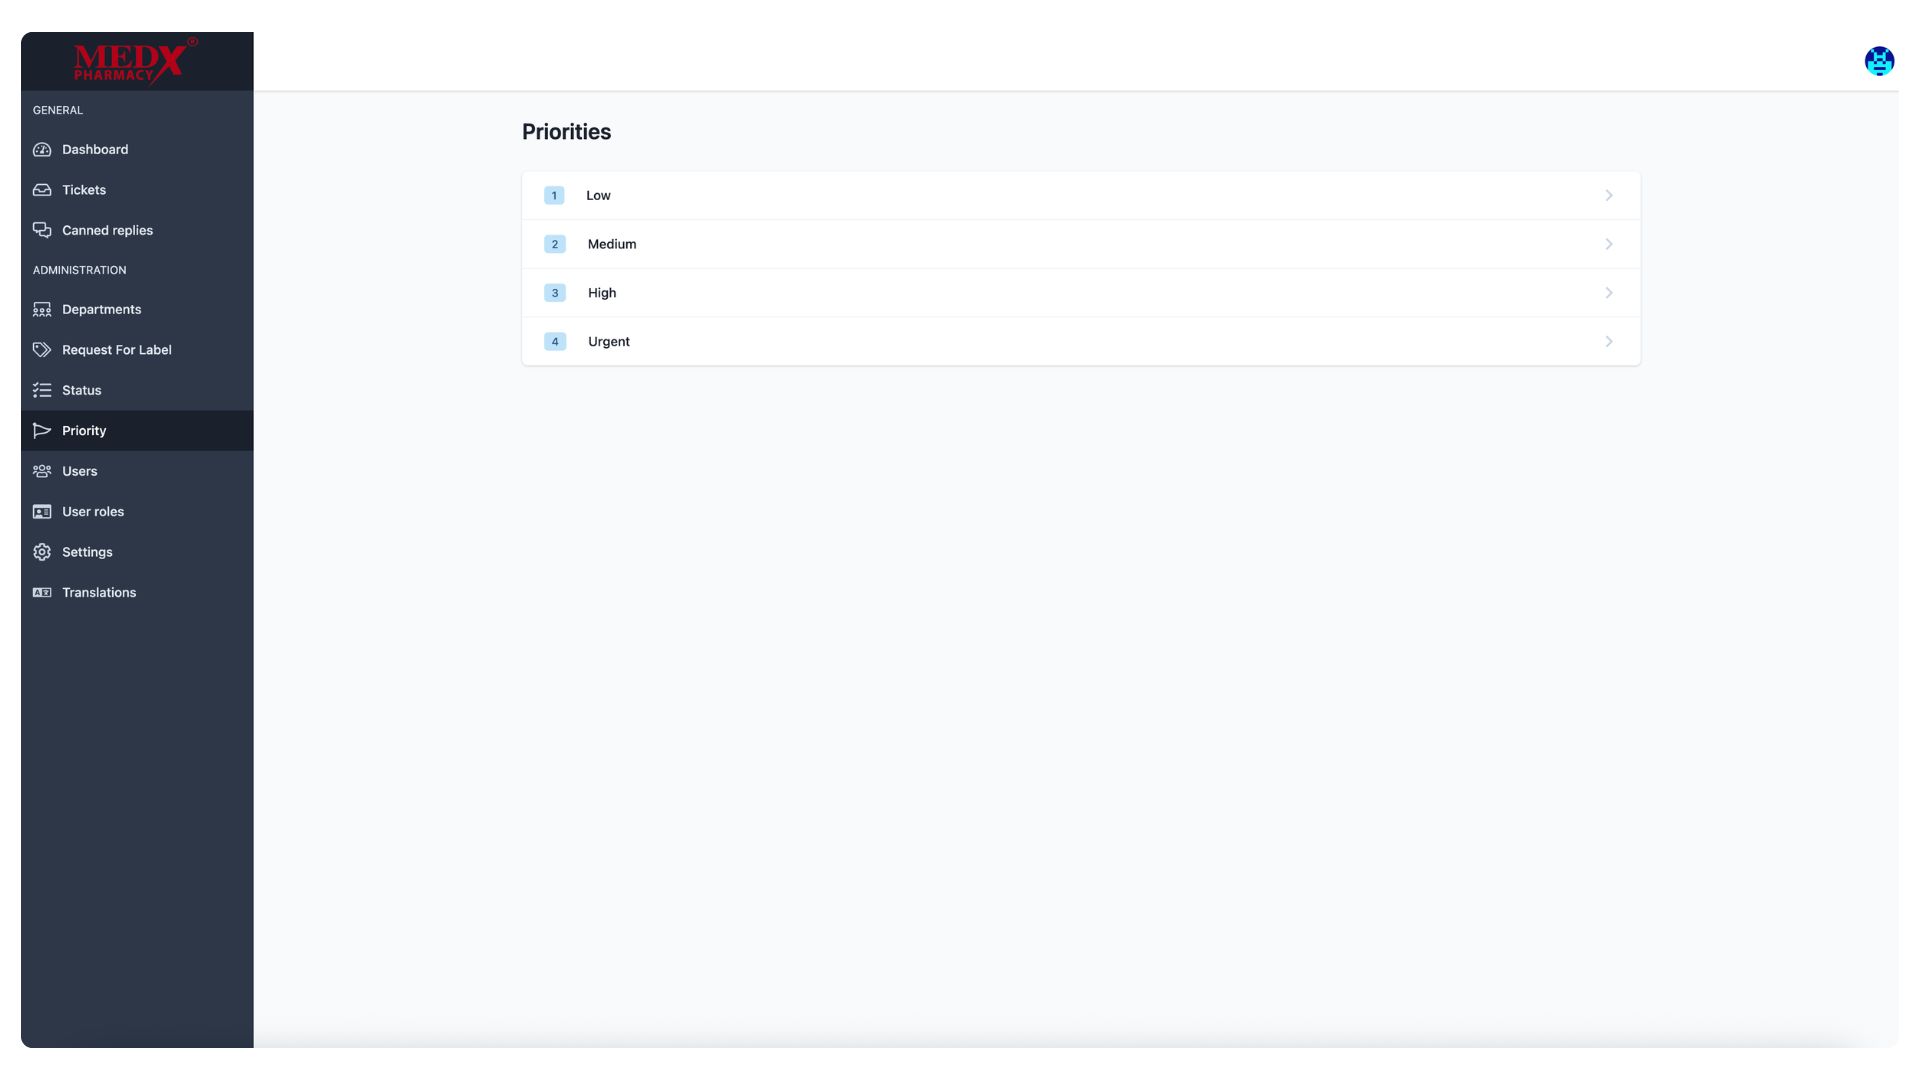
Priorities
The Priorities page displays the four ticket priority levels configured in the system — Low, Medium, High, and Urgent — which are used to classify the urgency of each support ticket. These priority levels help agents and administrators triage and respond to tickets in the appropriate order. Clicking on any priority level allows administrators to view or edit its details and settings.
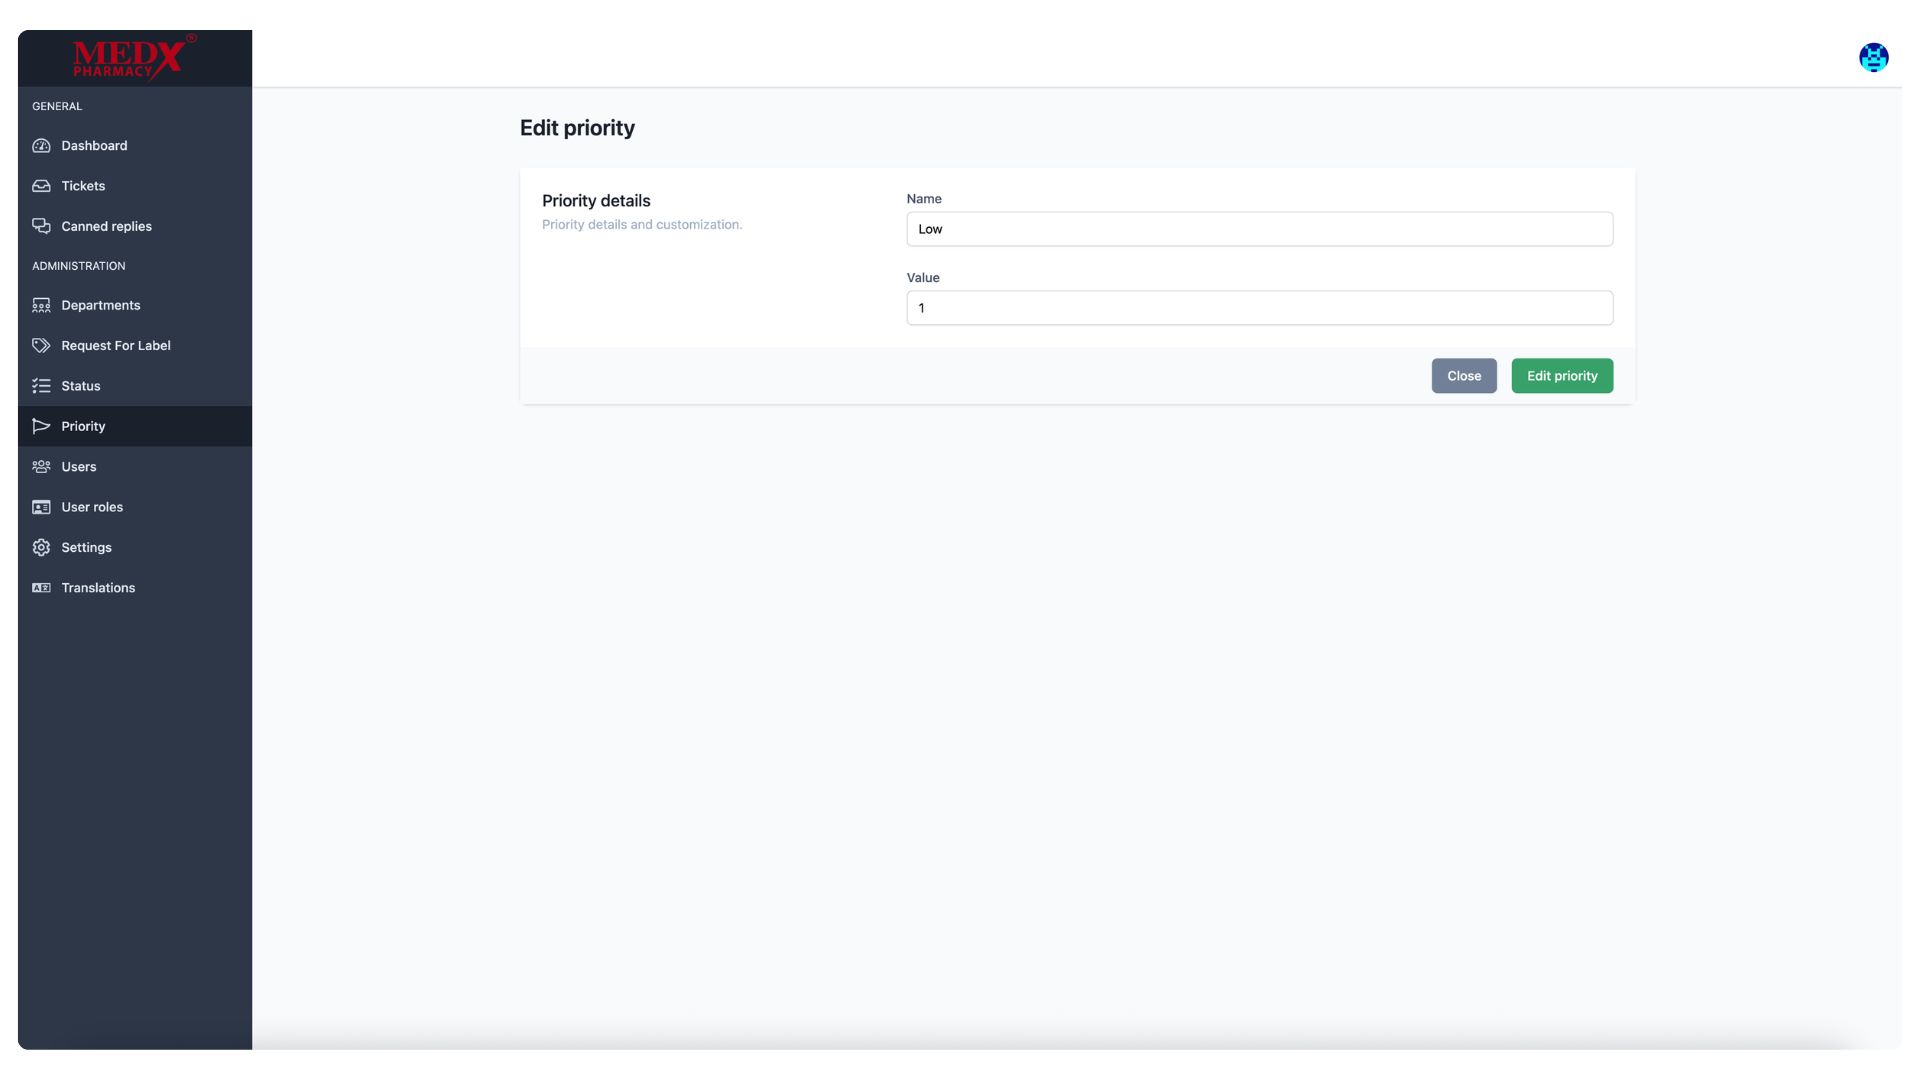
Edit Priority
The Edit Priority page allows administrators to modify the details of an existing ticket priority level, including its Name and numeric Value. Currently showing the (Low) priority with a value of 1, this page enables admins to rename or reorder priorities to match the organization's workflow. Changes are applied by clicking the (Edit priority) button.
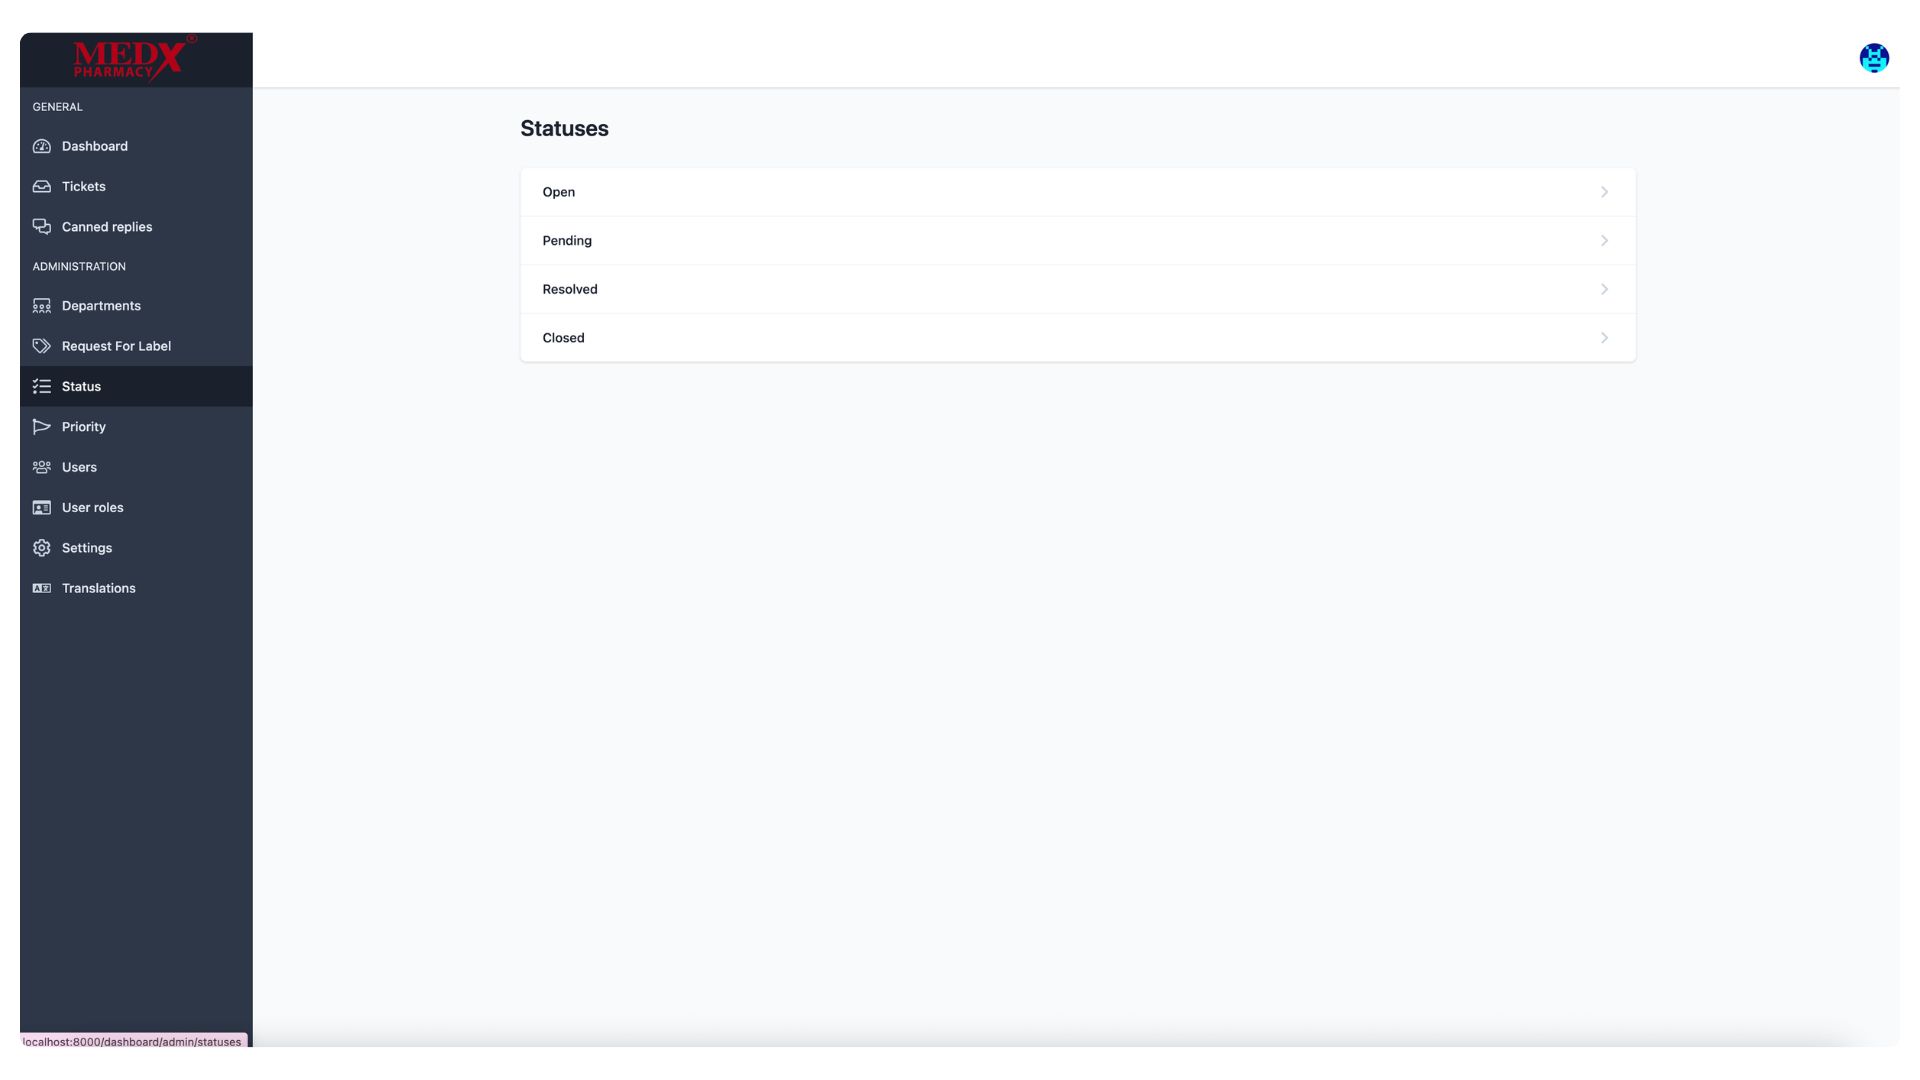
Statuses
The Statuses page displays the four ticket lifecycle stages configured in the system — Open, Pending, Resolved, and Closed — which are used to track the progress of each support ticket from creation to completion. These statuses help agents and administrators monitor and manage the workflow of all incoming requests. Clicking on any status allows administrators to view or edit its details..
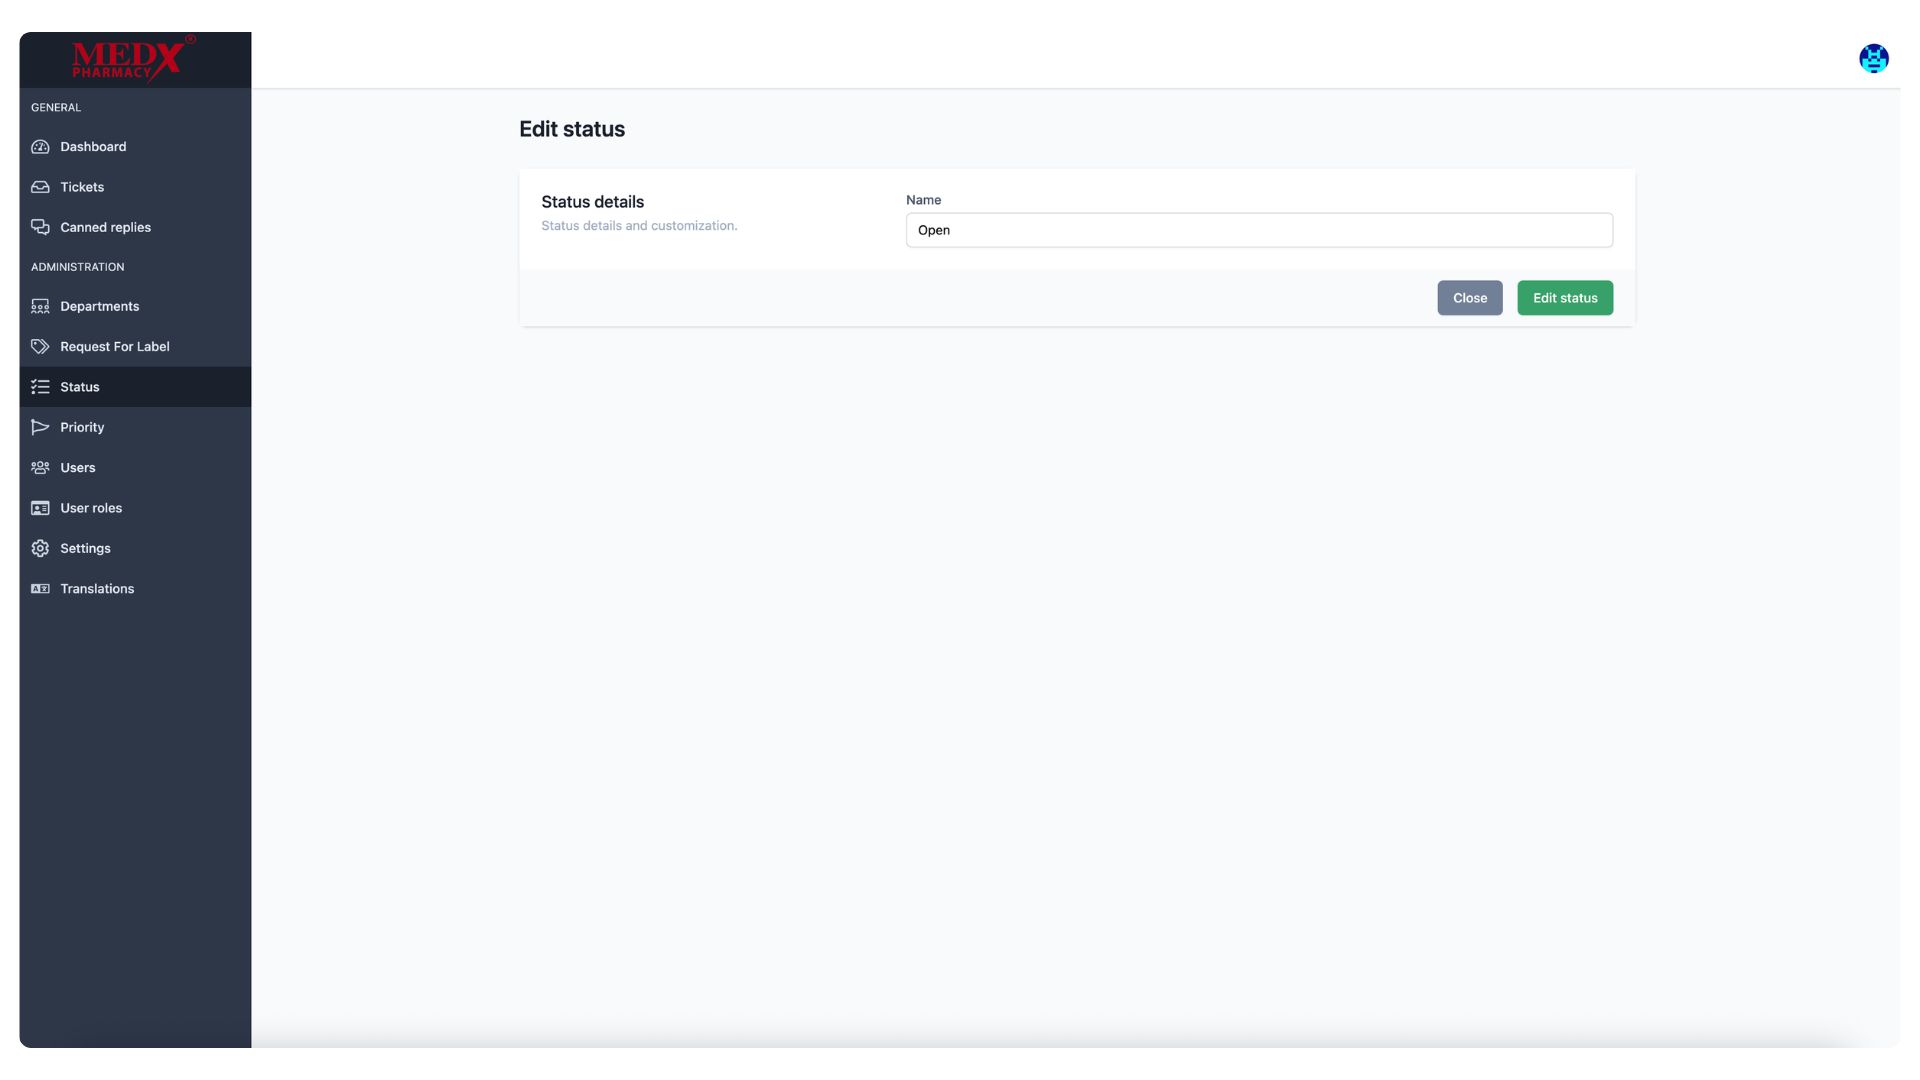
Edit Statuses
The Edit Status page allows administrators to modify the name of an existing ticket status, currently showing the (Open) status. This simple form lets admins rename any status to better align with the organization's terminology or workflow requirements. Changes are applied by clicking the (Edit status) button, or the action can be cancelled using the (Close) button.
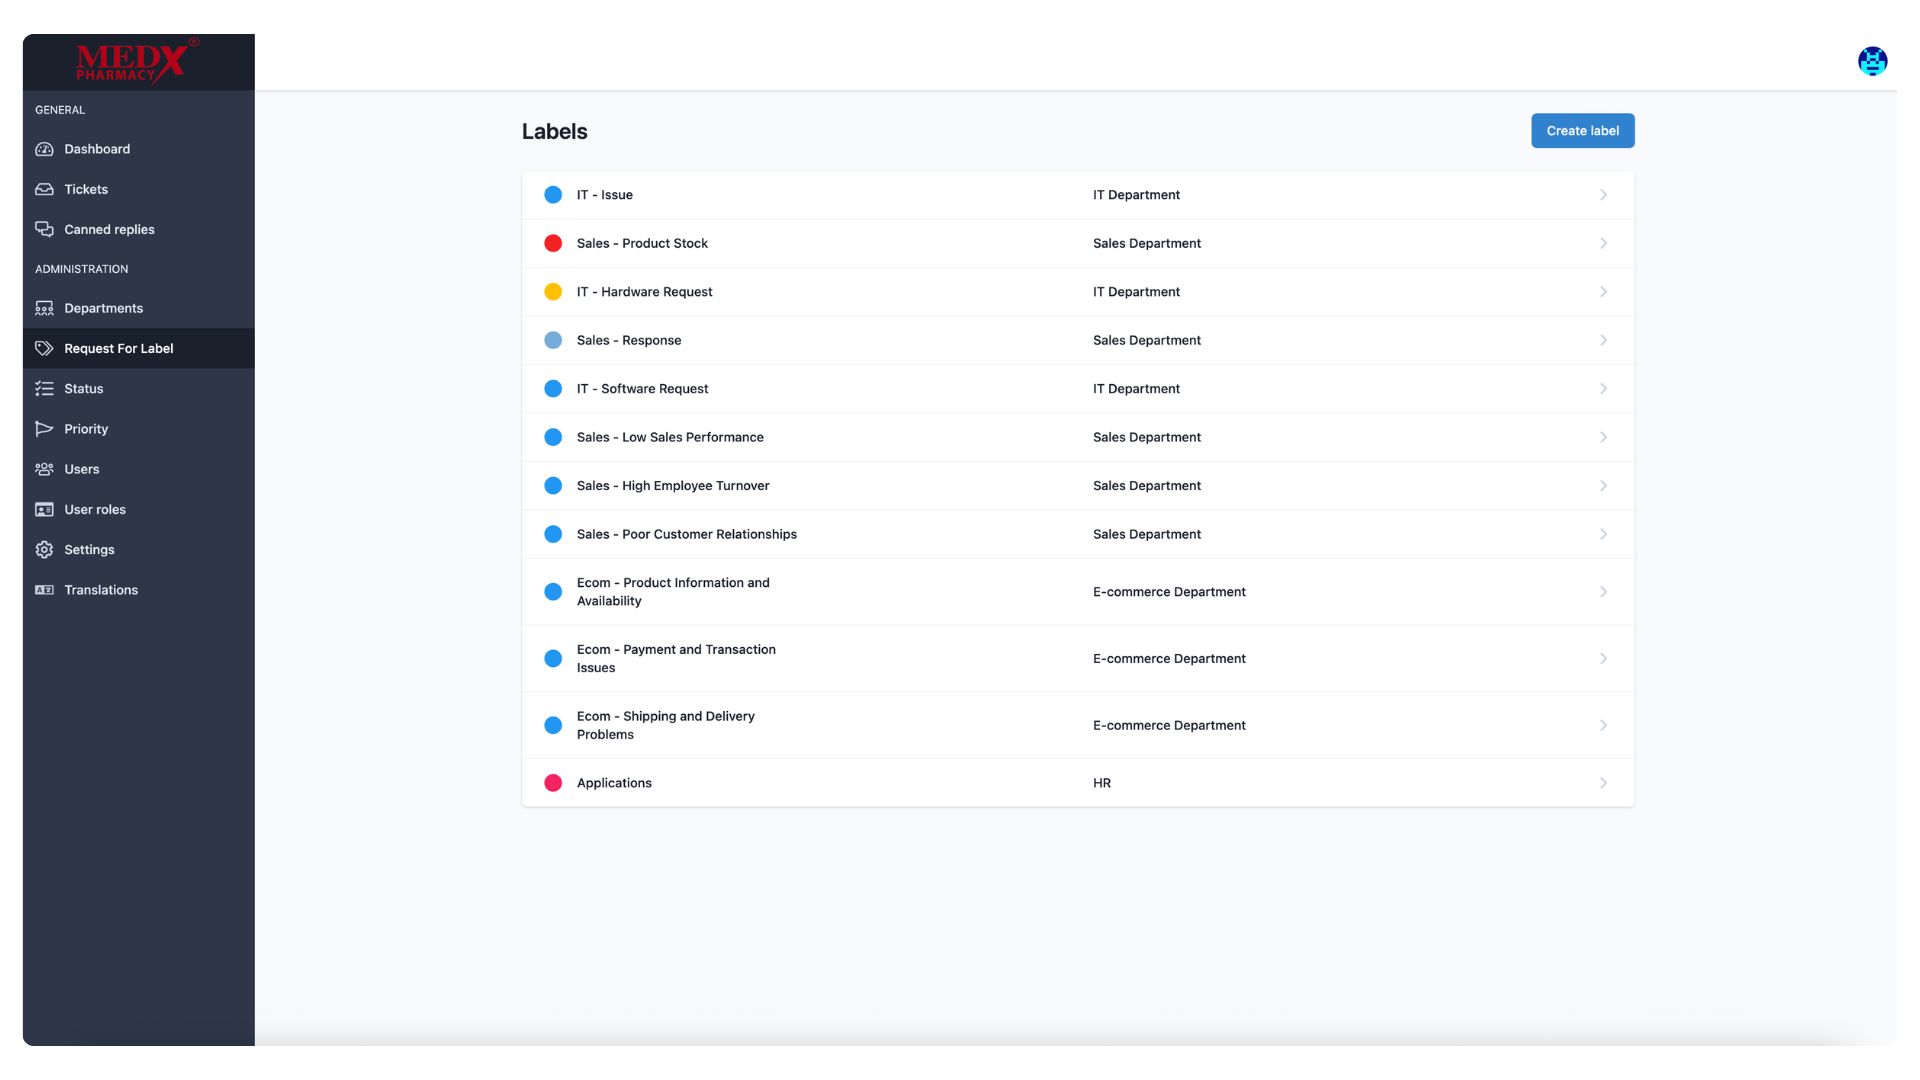
Labels
The Labels page displays all the ticket labels created in the system, each associated with a specific department such as IT, Sales, E-commerce, and HR. Labels like (IT - Issue,) (Sales - Product Stock,) and (Ecom - Shipping and Delivery Problems) help categorize and organize tickets more precisely within their respective departments. Administrators can create new labels using the (Create label) button and click on any existing label to edit its details.
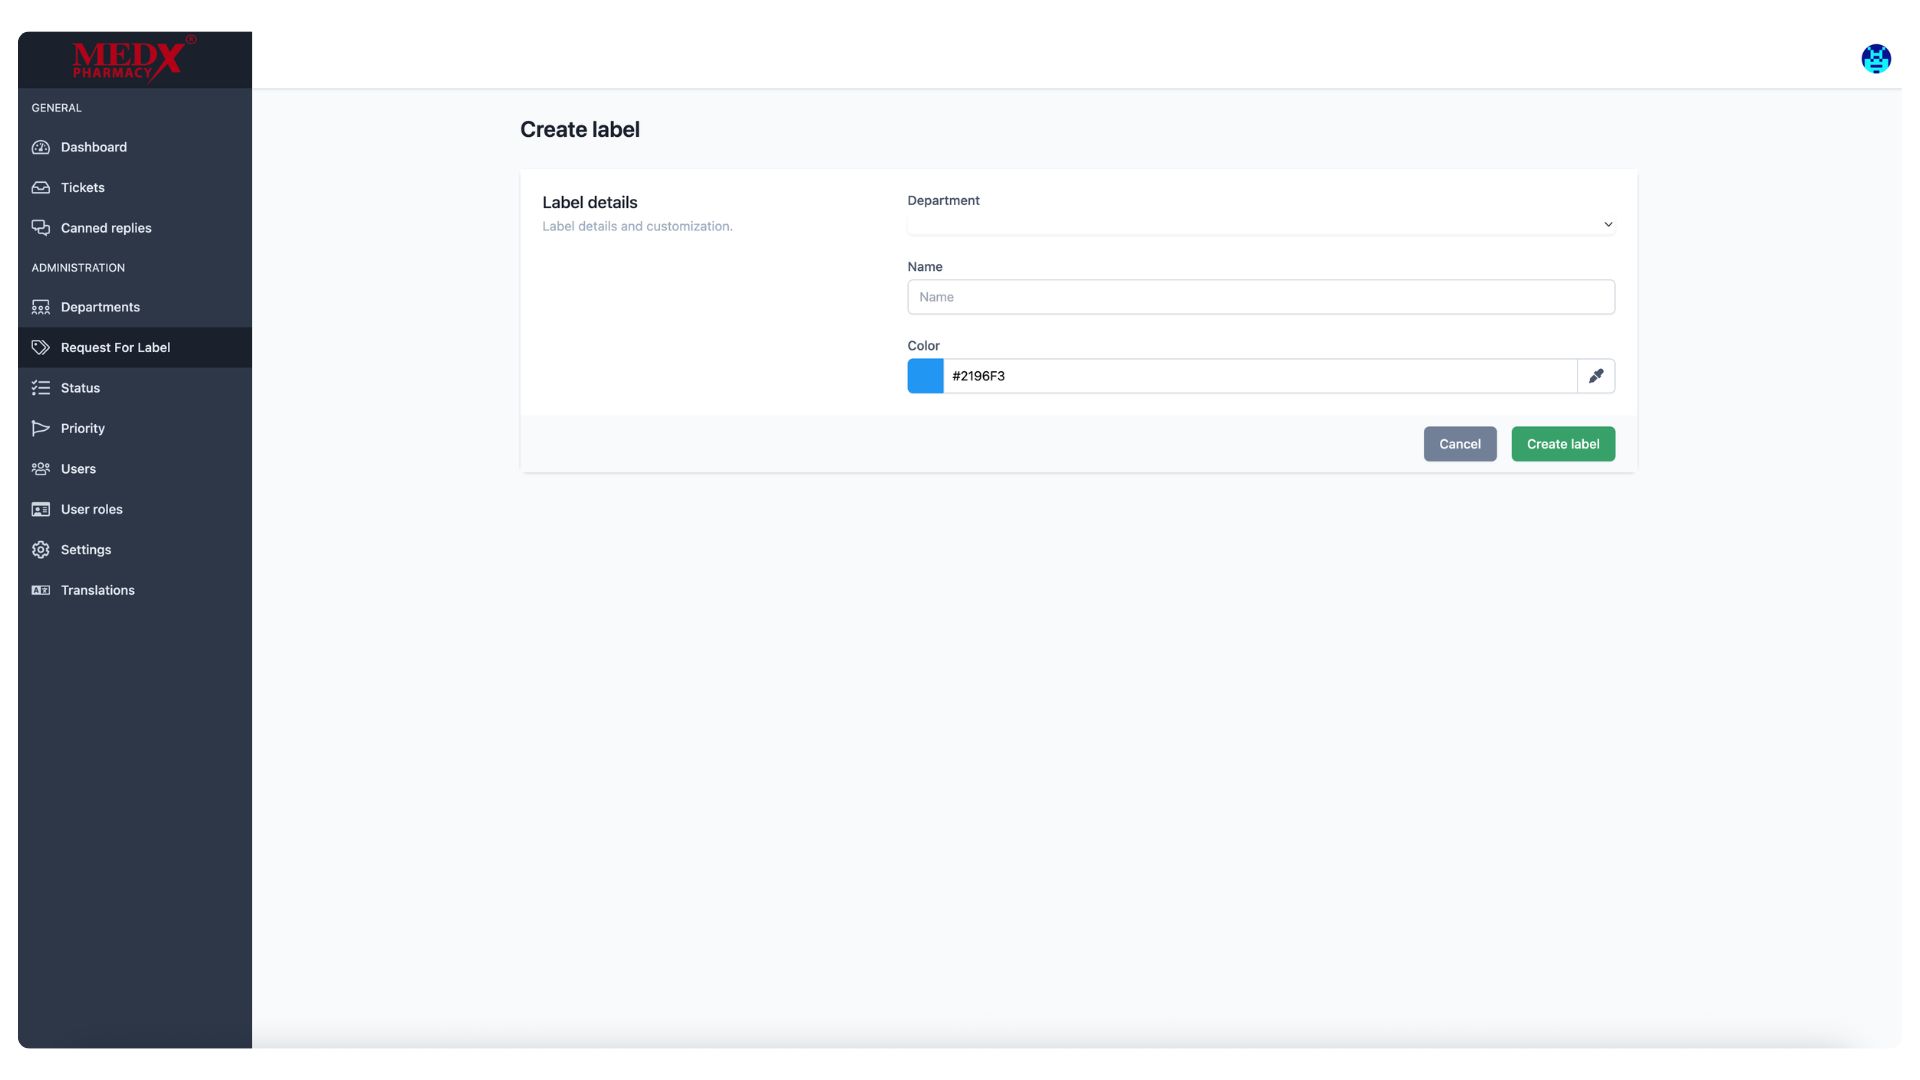
Create Label
The Create Label page allows administrators to add a new ticket label by selecting a Department, entering a label Name, and choosing a Color using a color picker. The color-coding helps visually distinguish labels from one another across the ticketing system, making it easier to identify and categorize tickets at a glance. Once all details are filled in, clicking (Create label) saves the new label to the system.
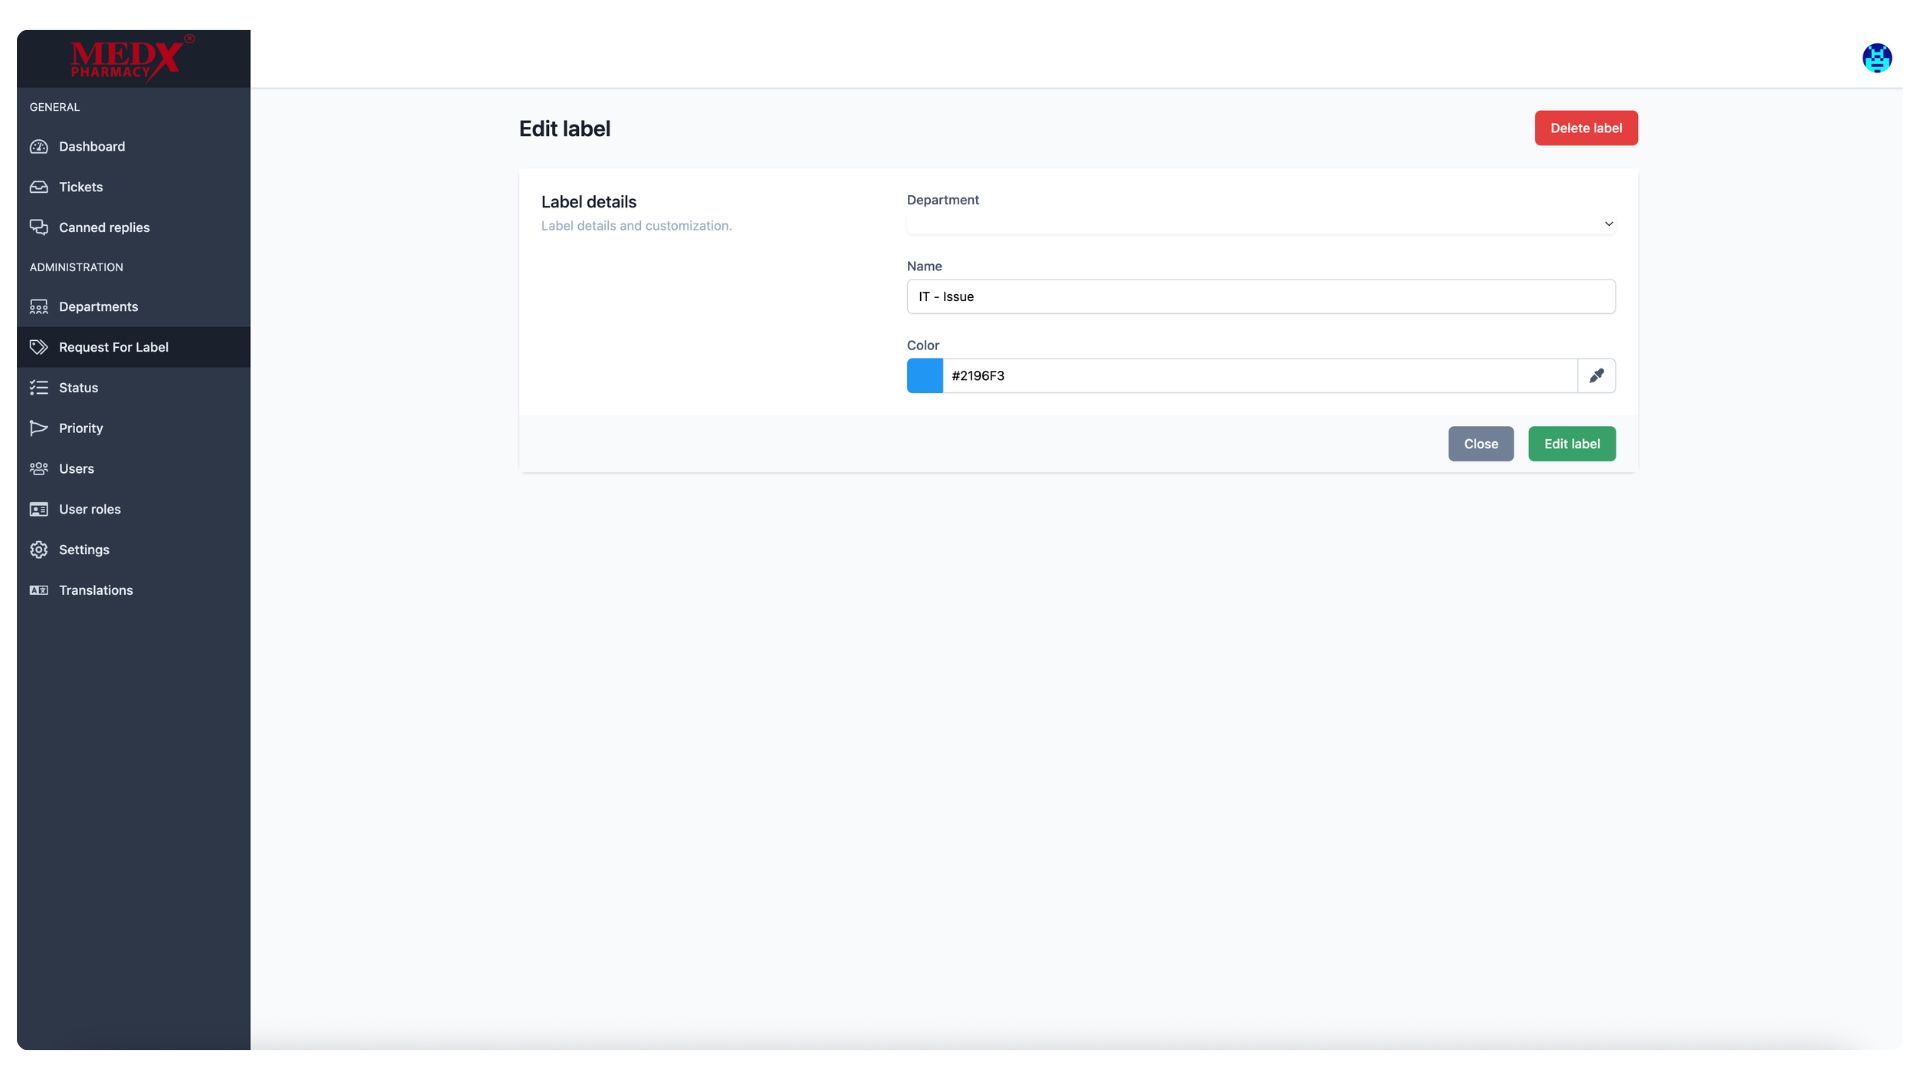
Edit Label
The Edit Label page allows administrators to modify an existing label's details, including its Department, Name, and Color. Currently displaying the (IT - Issue) label with its assigned blue color code, admins can update any of these fields and save changes by clicking (Edit label.) A (Delete label) button is also available in the top right corner to permanently remove the label from the system if it is no longer needed.
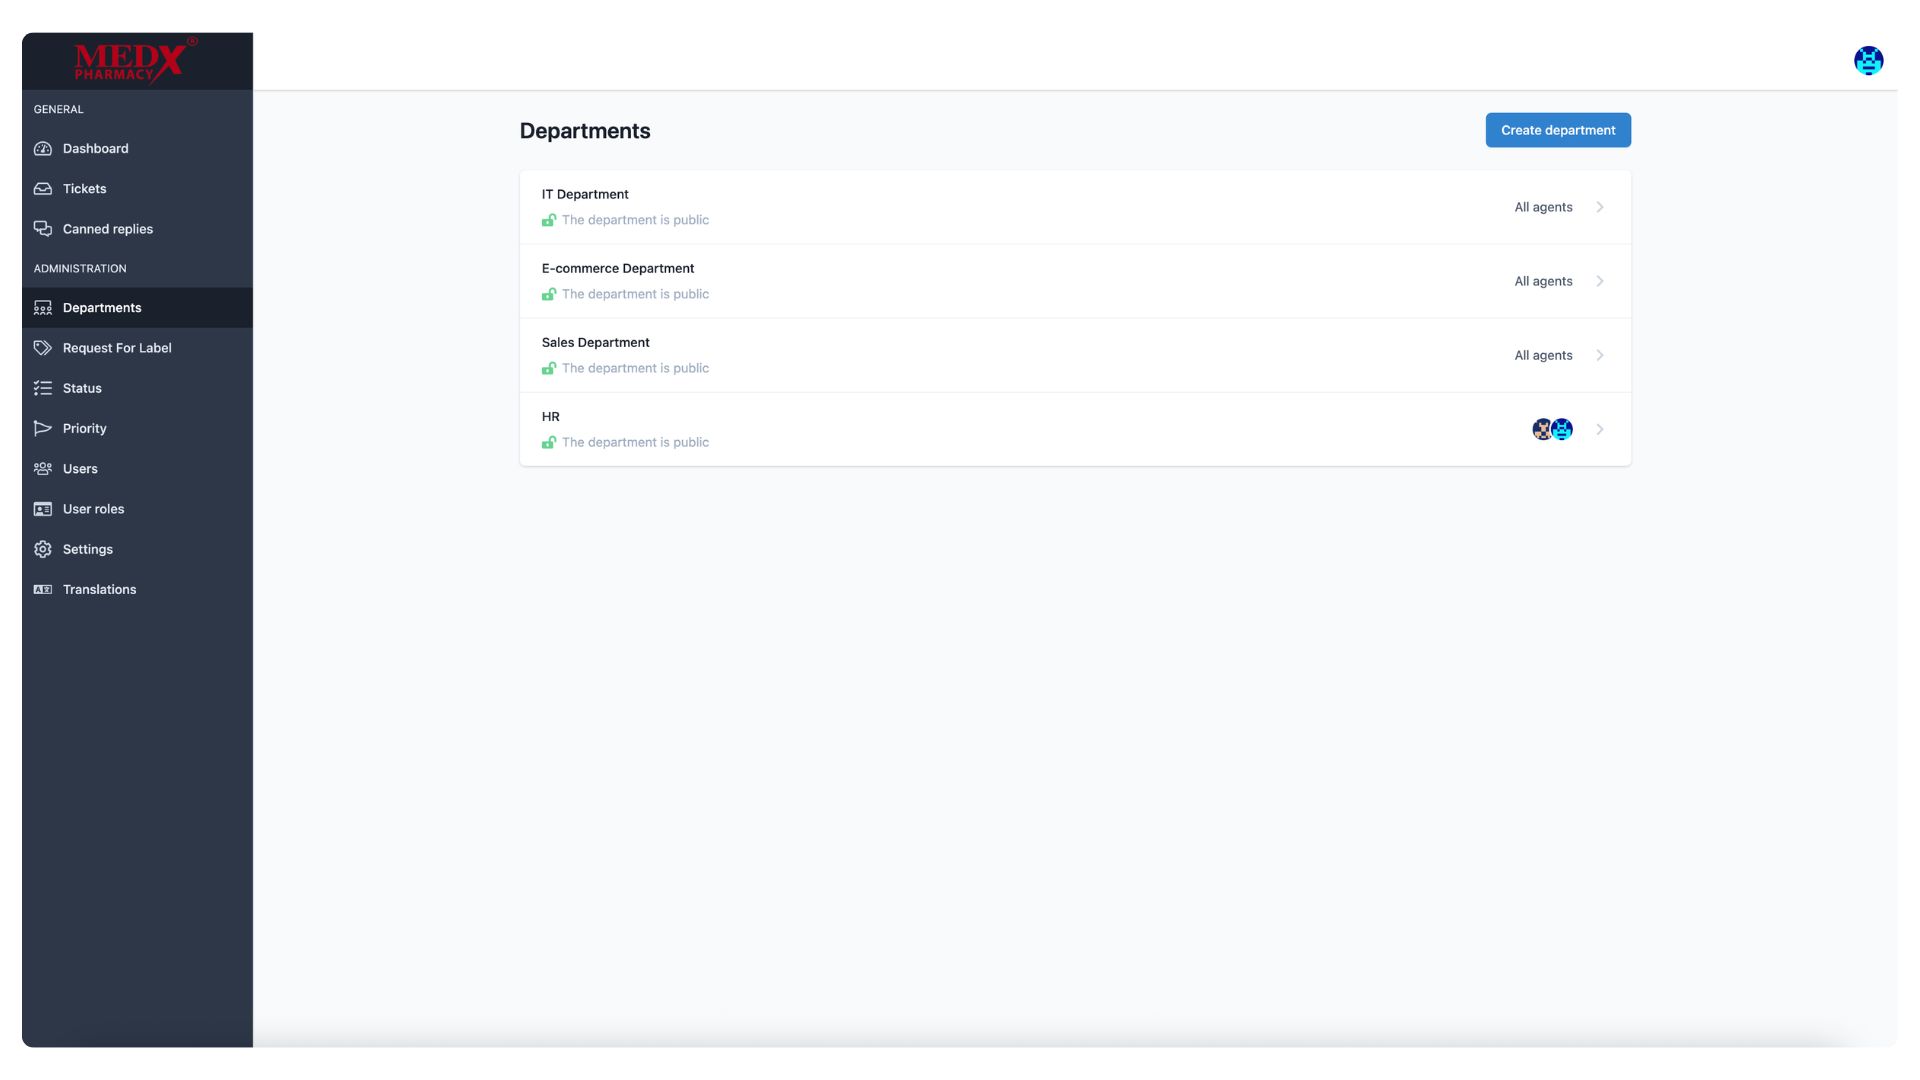
Departments
The Departments page lists all the departments configured in the ticketing system, currently showing four — IT Department, E-commerce Department, Sales Department, and HR — all marked as public. Each department can be assigned specific agents to handle tickets raised under it, as seen with the HR department showing assigned agent avatars. Administrators can create new departments using the (Create department) button and click on any existing one to manage its settings and assigned agents.
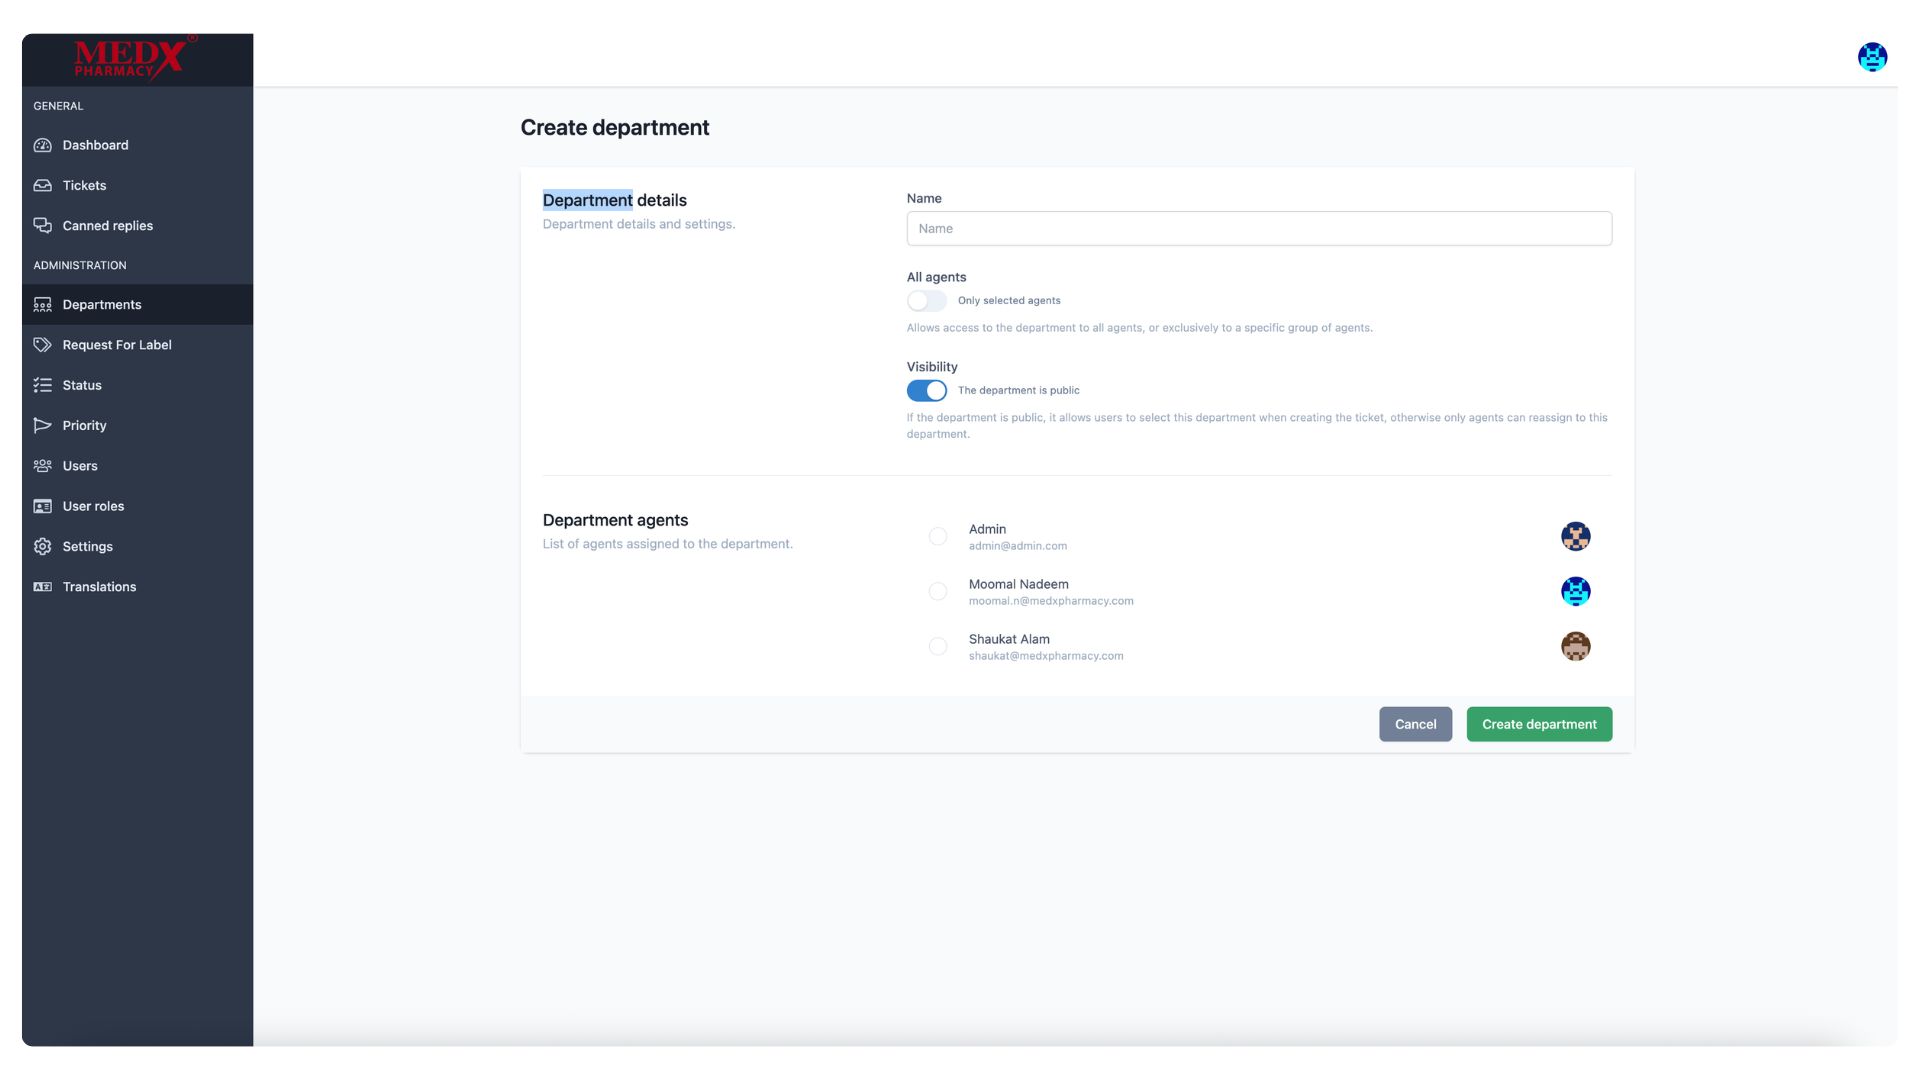
Create Department
The Create Department page allows administrators to set up a new department by entering a Name, configuring agent access (all agents or only selected ones), and setting the Visibility to public or private. The Department Agents section lists all available agents such as Admin, Moomal Nadeem, and Shaukat Alam, who can be individually selected and assigned to the new department. Once configured, clicking (Create department) saves the department and makes it available for ticket routing.
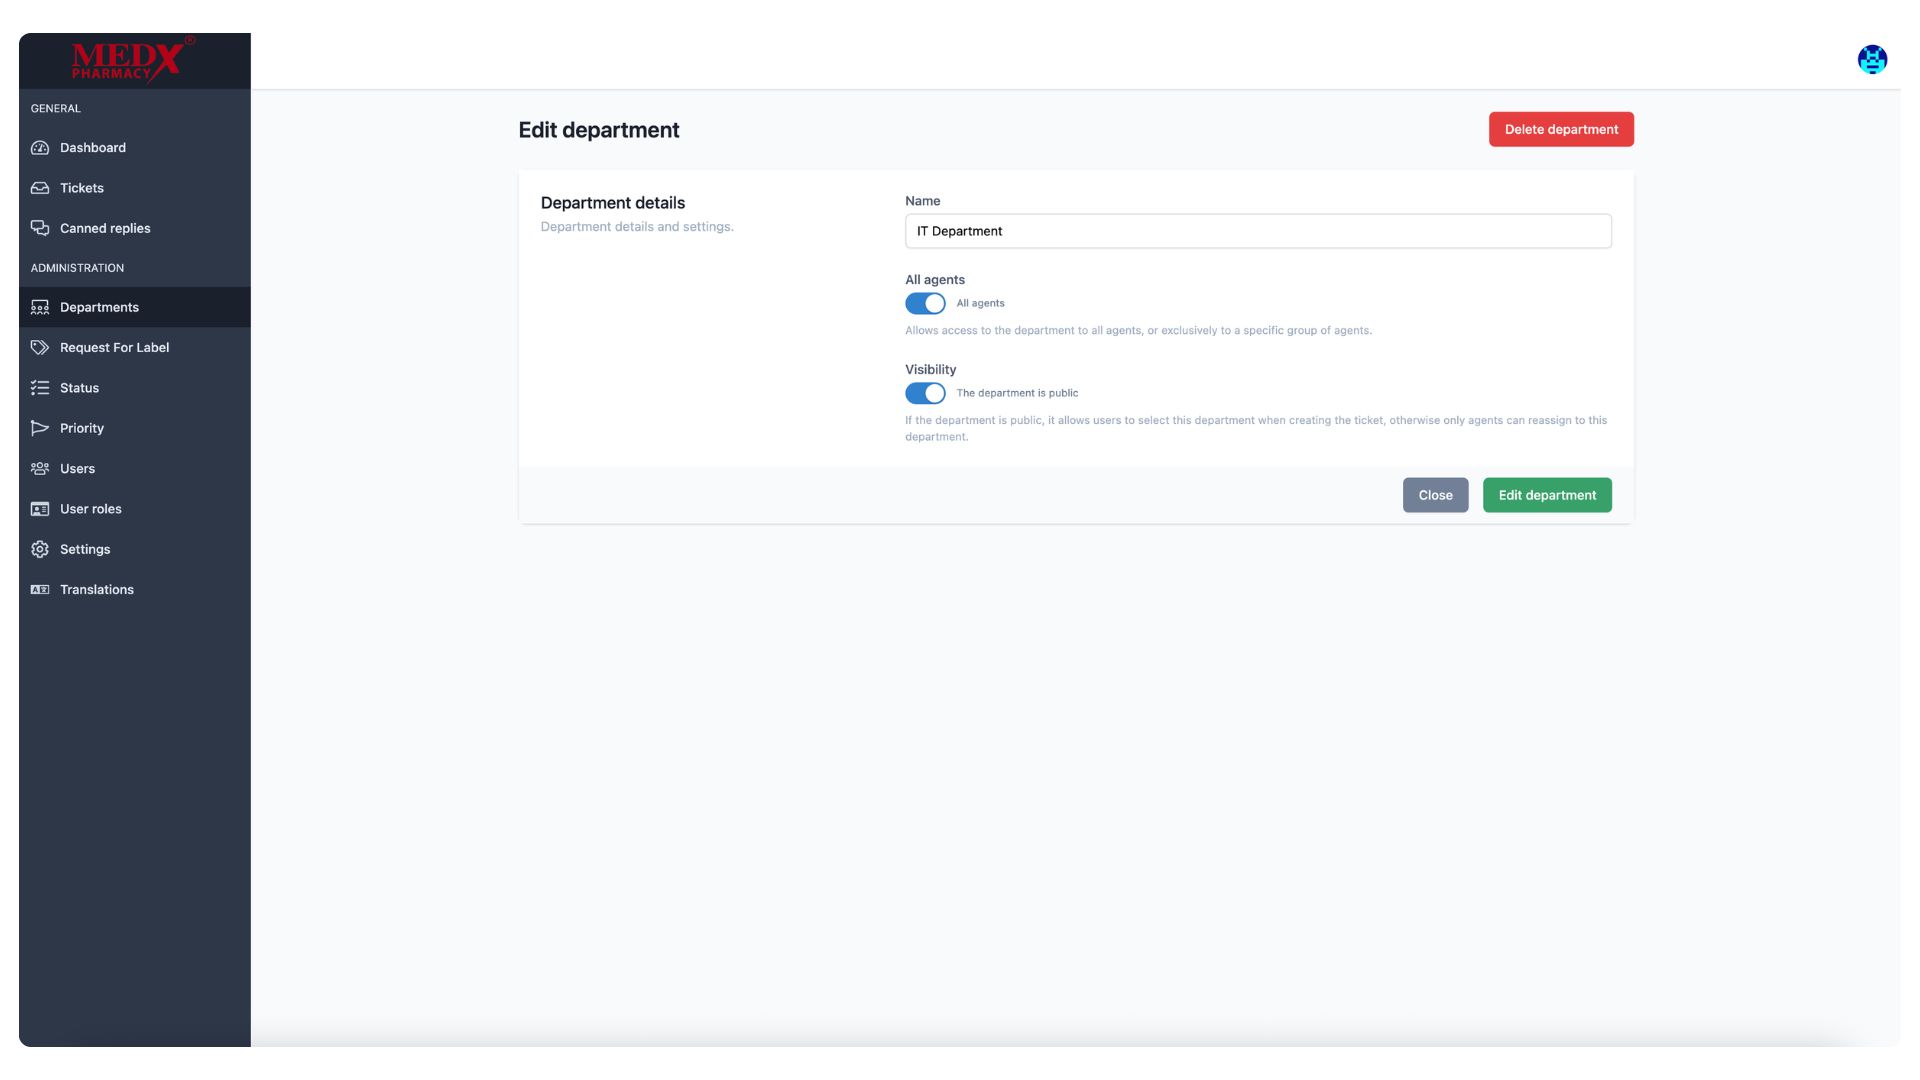
Edit Department
The Edit Department page allows administrators to modify an existing department's settings, currently showing the (IT Department) with All Agents access and Visibility set to public. Admins can update the department name, toggle agent access between all agents or selected ones, and change the visibility as needed. A (Delete department) button is also available in the top right corner to permanently remove the department from the system if required.
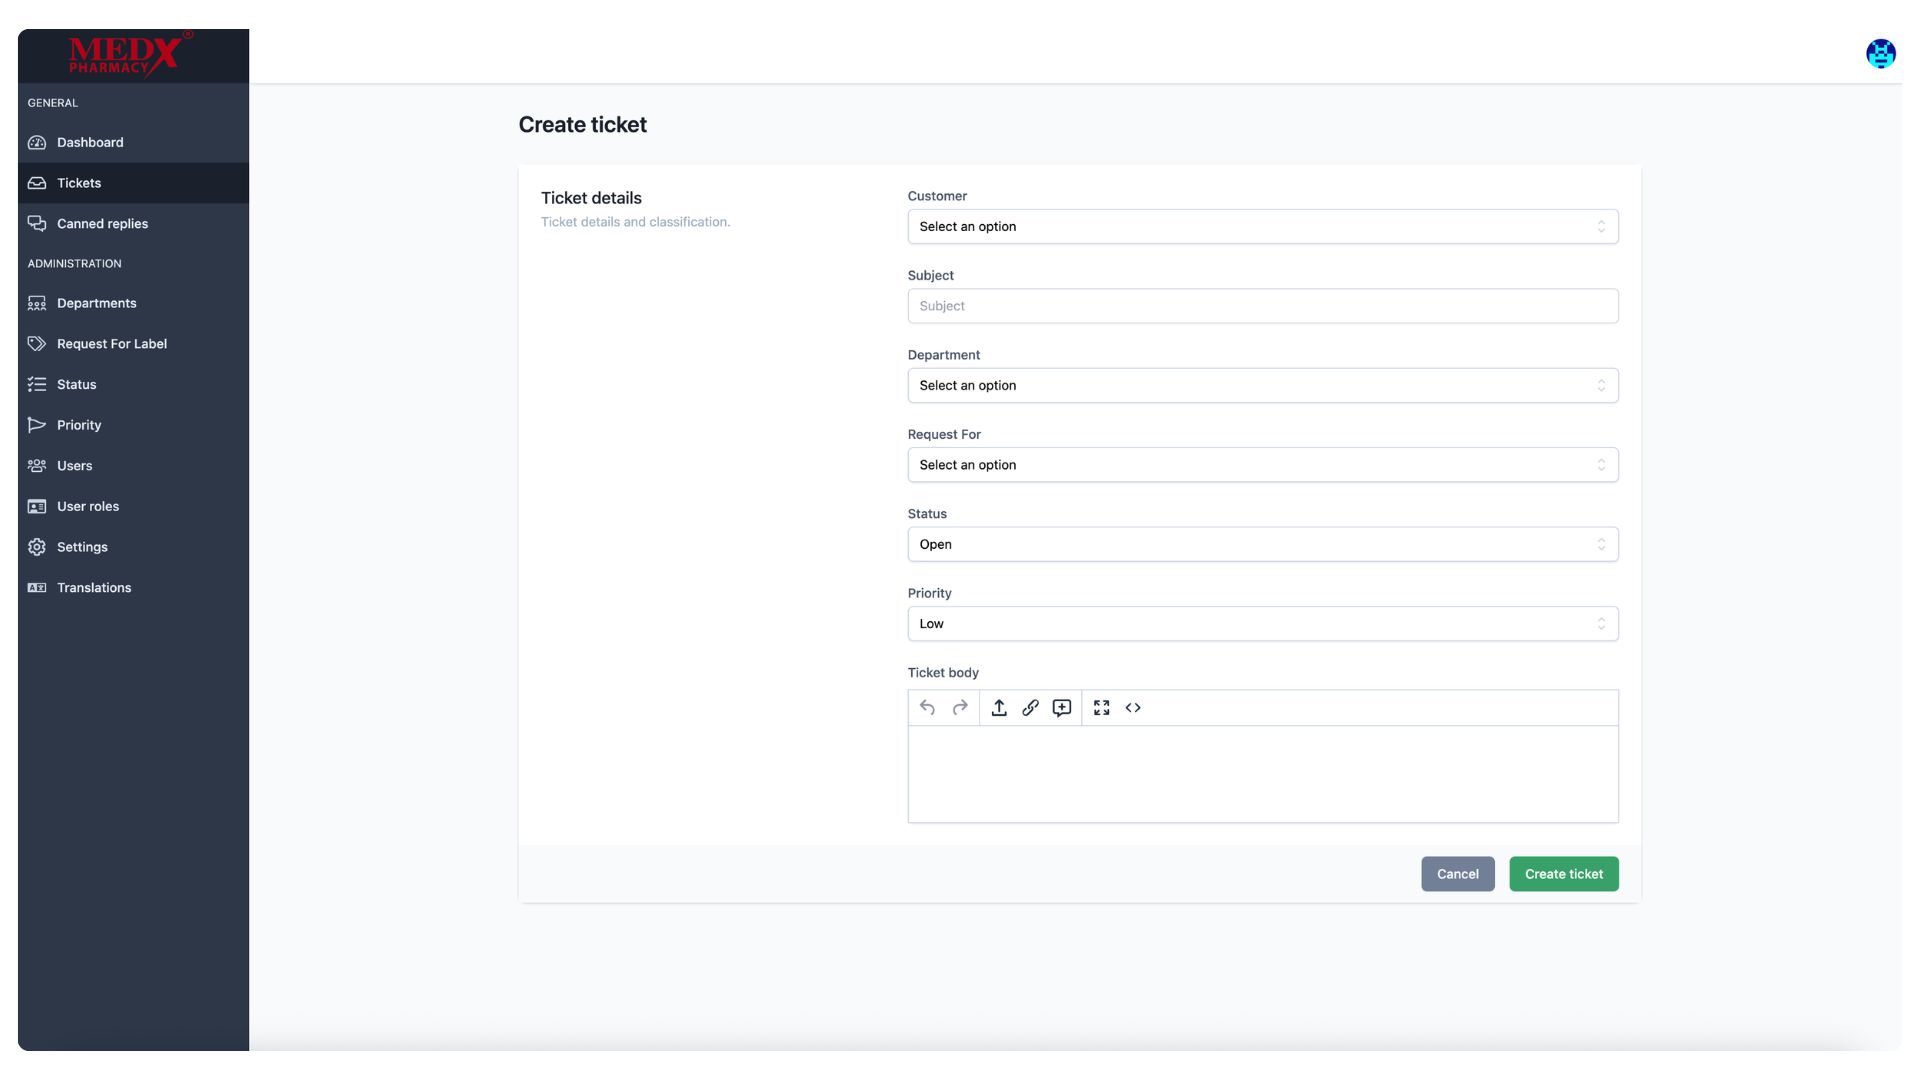
Create Ticket
The Create Ticket page allows administrators or agents to manually raise a new support ticket by filling in key details such as Customer, Subject, Department, Request For, Status, and Priority. A rich text editor is provided in the Ticket Body section to write a detailed description of the issue or request. Once all fields are completed, clicking (Create ticket) submits the ticket into the system for the relevant team to action.
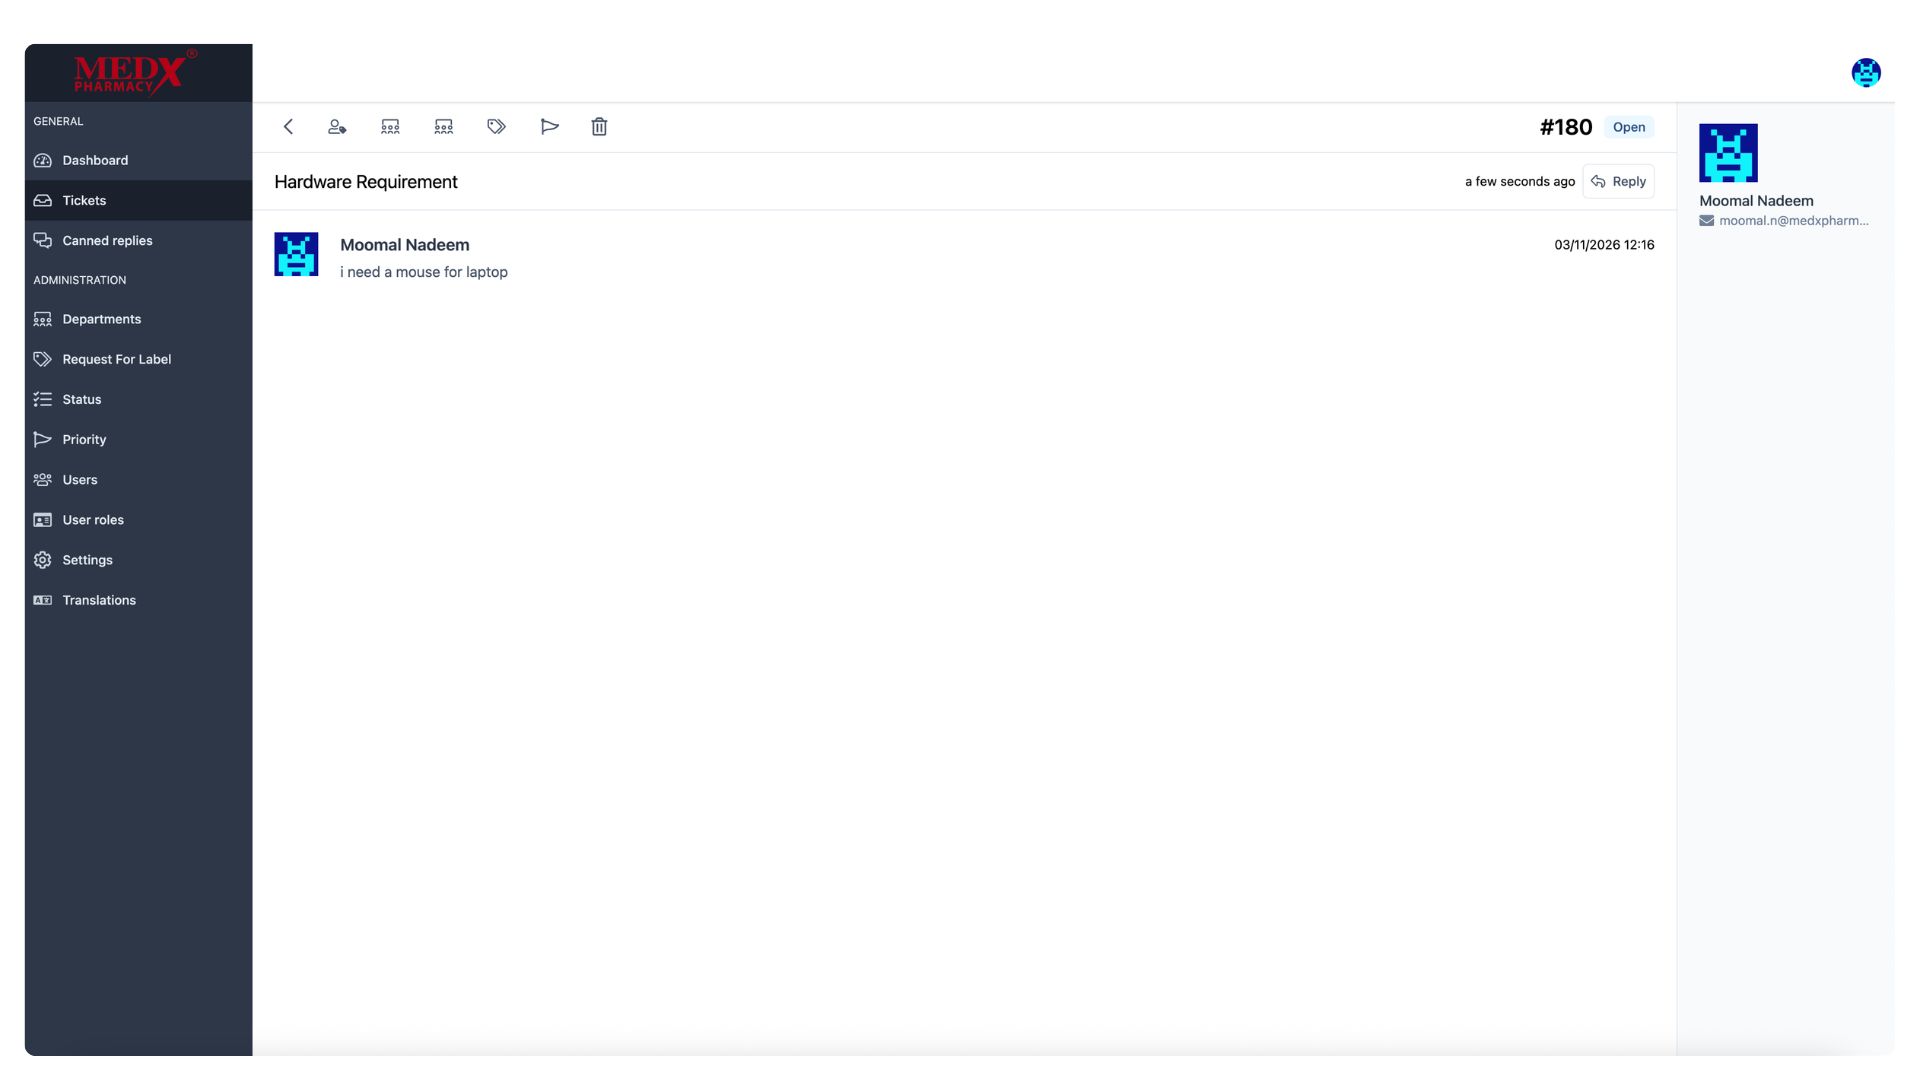
Ticket Detail View
The Ticket Detail page shows the full conversation thread of an individual ticket, in this case Ticket #180 — (Hardware Requirement) submitted by Moomal Nadeem requesting a mouse for her laptop. The ticket is currently in Open status and agents can respond directly using the Reply button on the top right. The toolbar at the top provides quick action icons for assigning, transferring, labeling, prioritizing, and deleting the ticket.
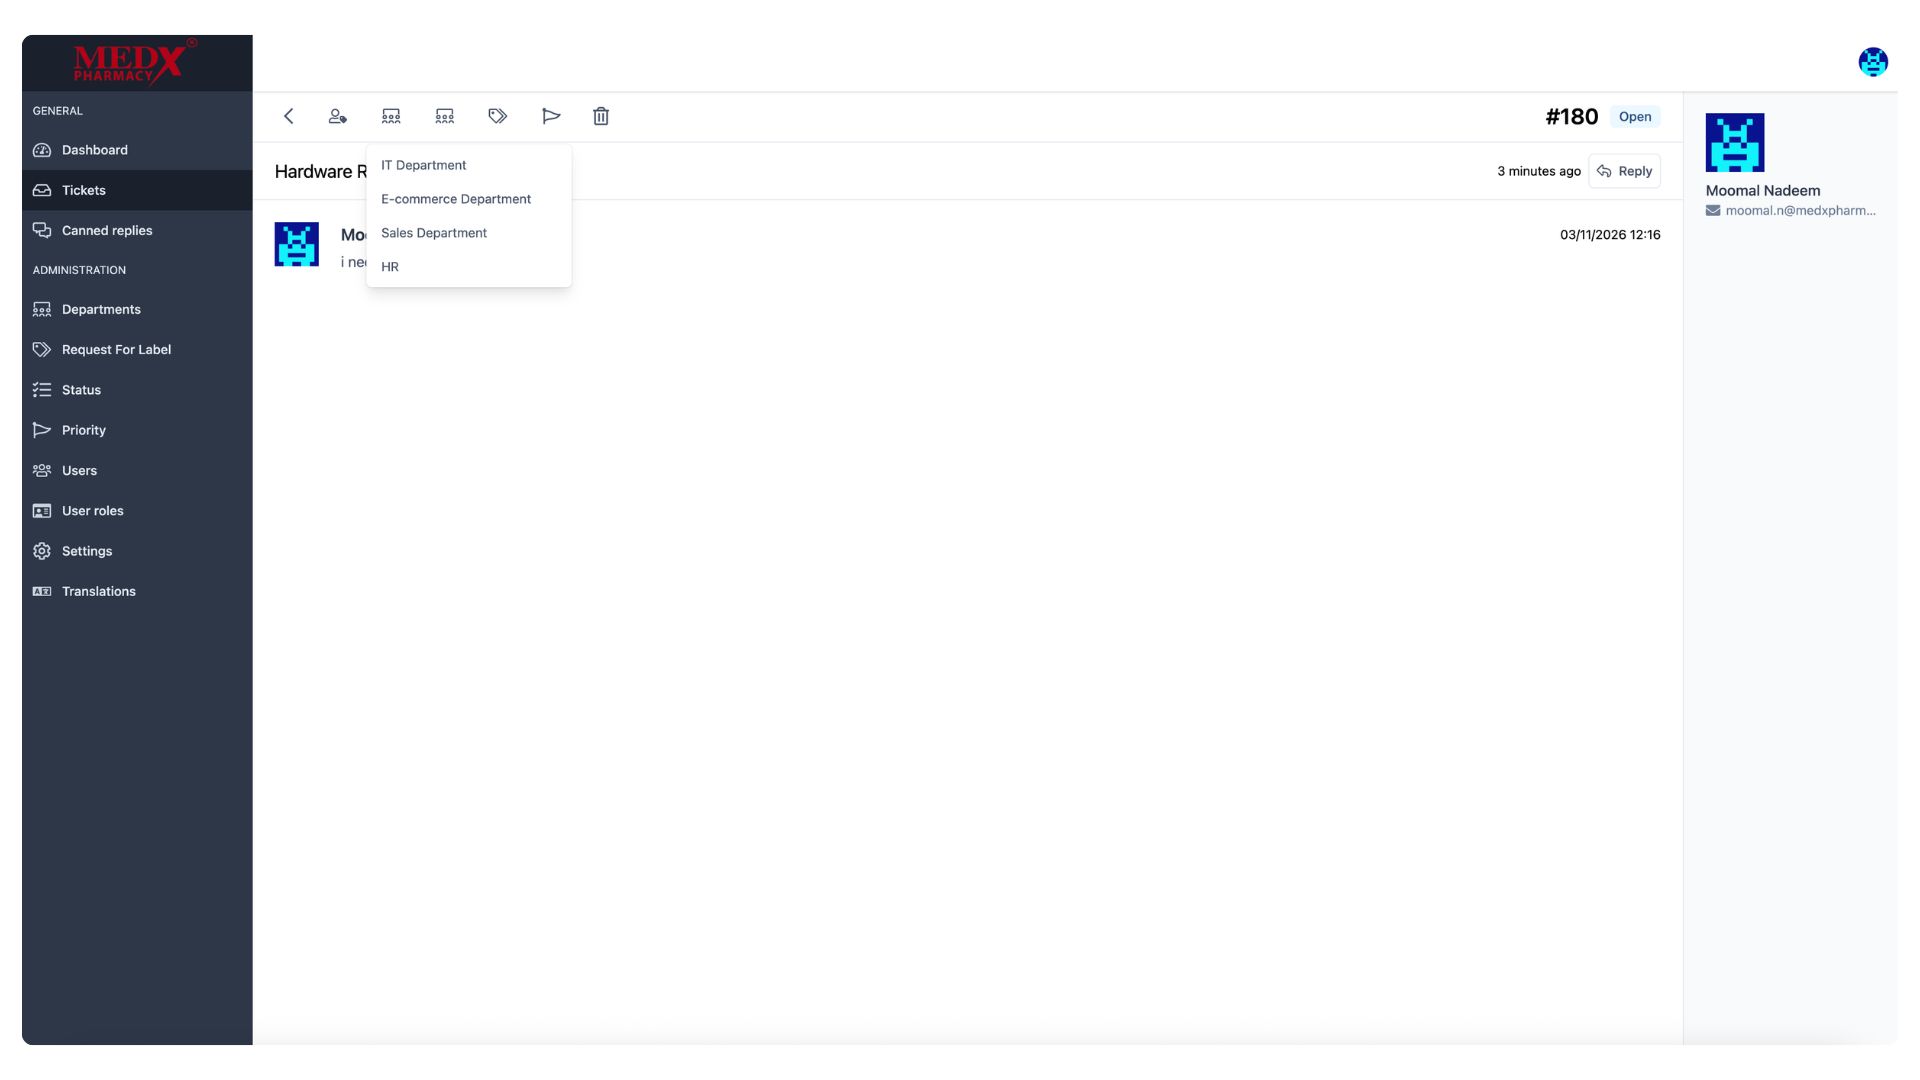
Ticket Department Assignment
This view shows the department assignment dropdown on Ticket #180, allowing an administrator to transfer or assign the ticket to the most relevant department — IT Department, E-commerce Department, Sales Department, or HR. Selecting a department ensures the ticket is routed to the right team responsible for handling that type of request. This helps streamline ticket management and ensures faster resolution by the appropriate department.
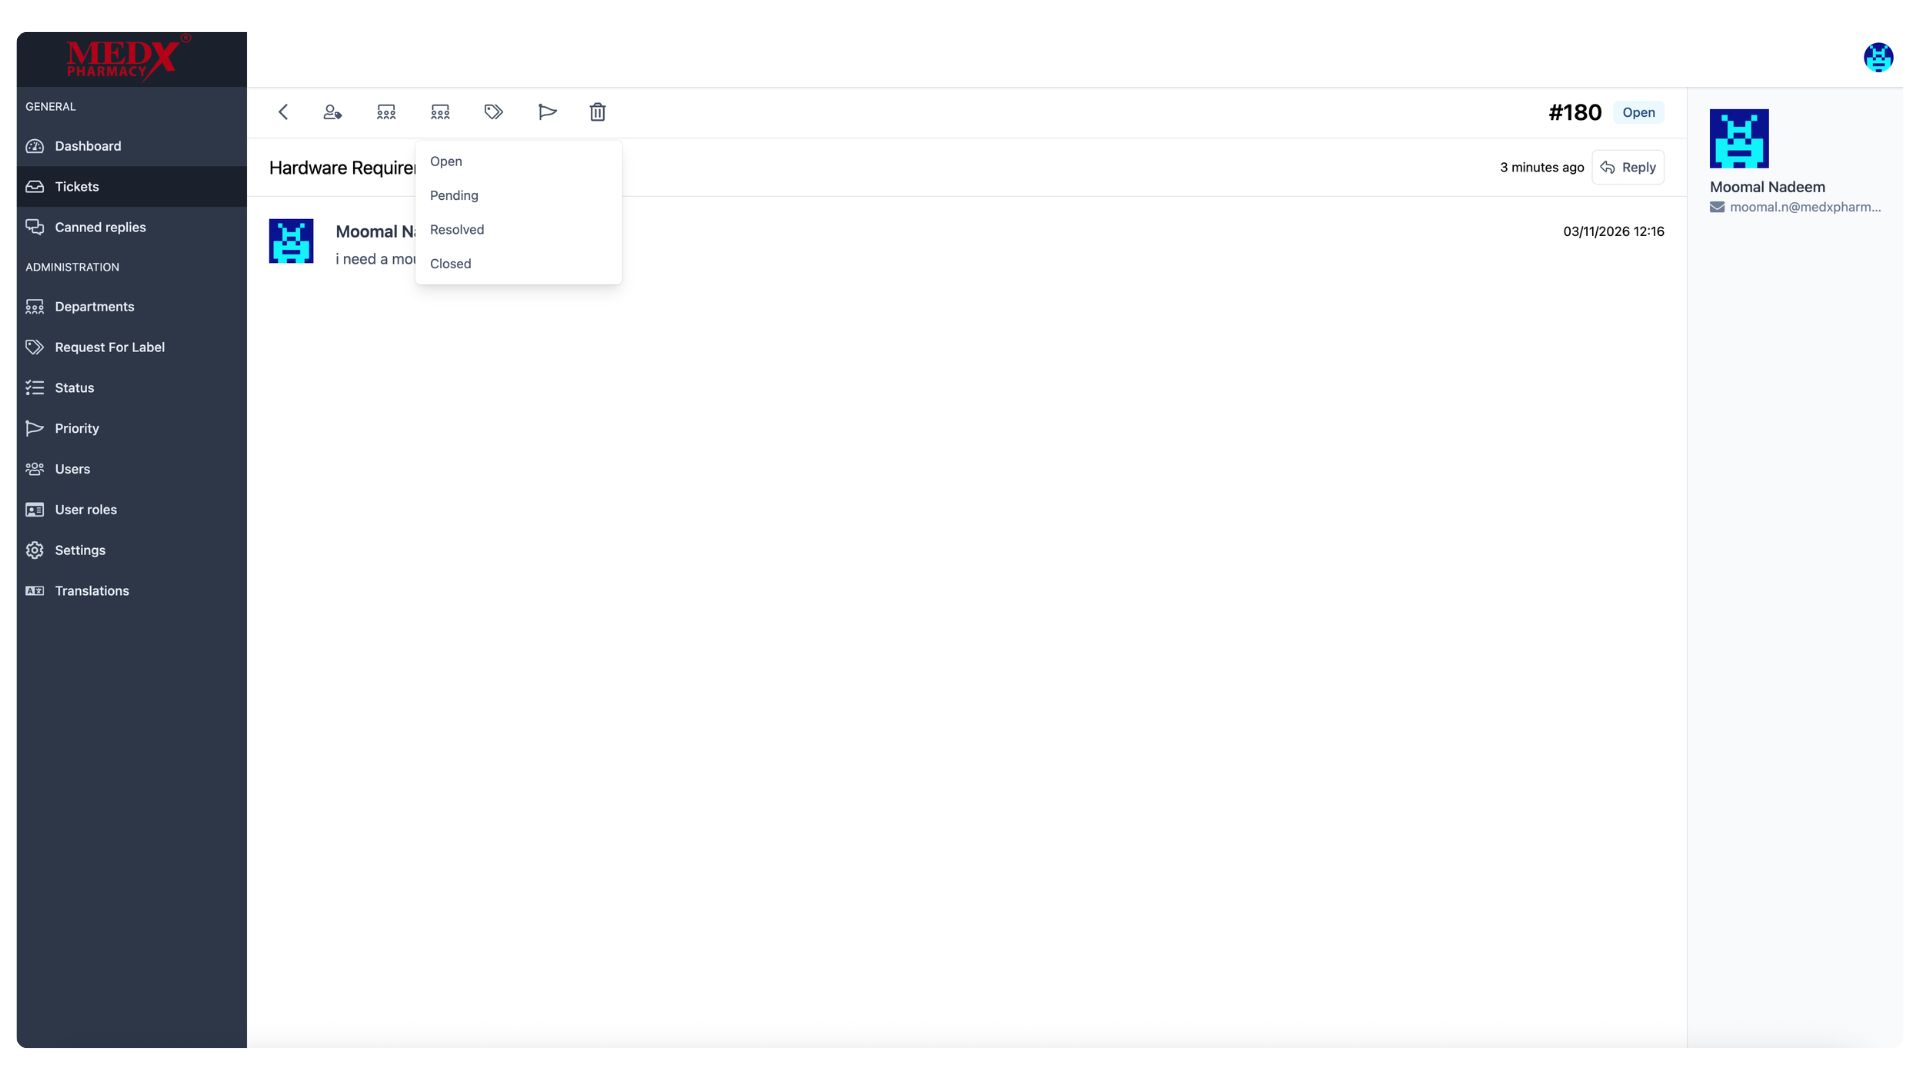
Ticket Status Update
This view shows the status change dropdown on Ticket #180, allowing an administrator or agent to update the ticket's current status to Open, Pending, Resolved, or Closed. Changing the status reflects the current progress of the ticket and helps both the team and the customer stay informed about where the request stands in the resolution process. This can be updated at any point during the ticket's lifecycle directly from the ticket detail view.
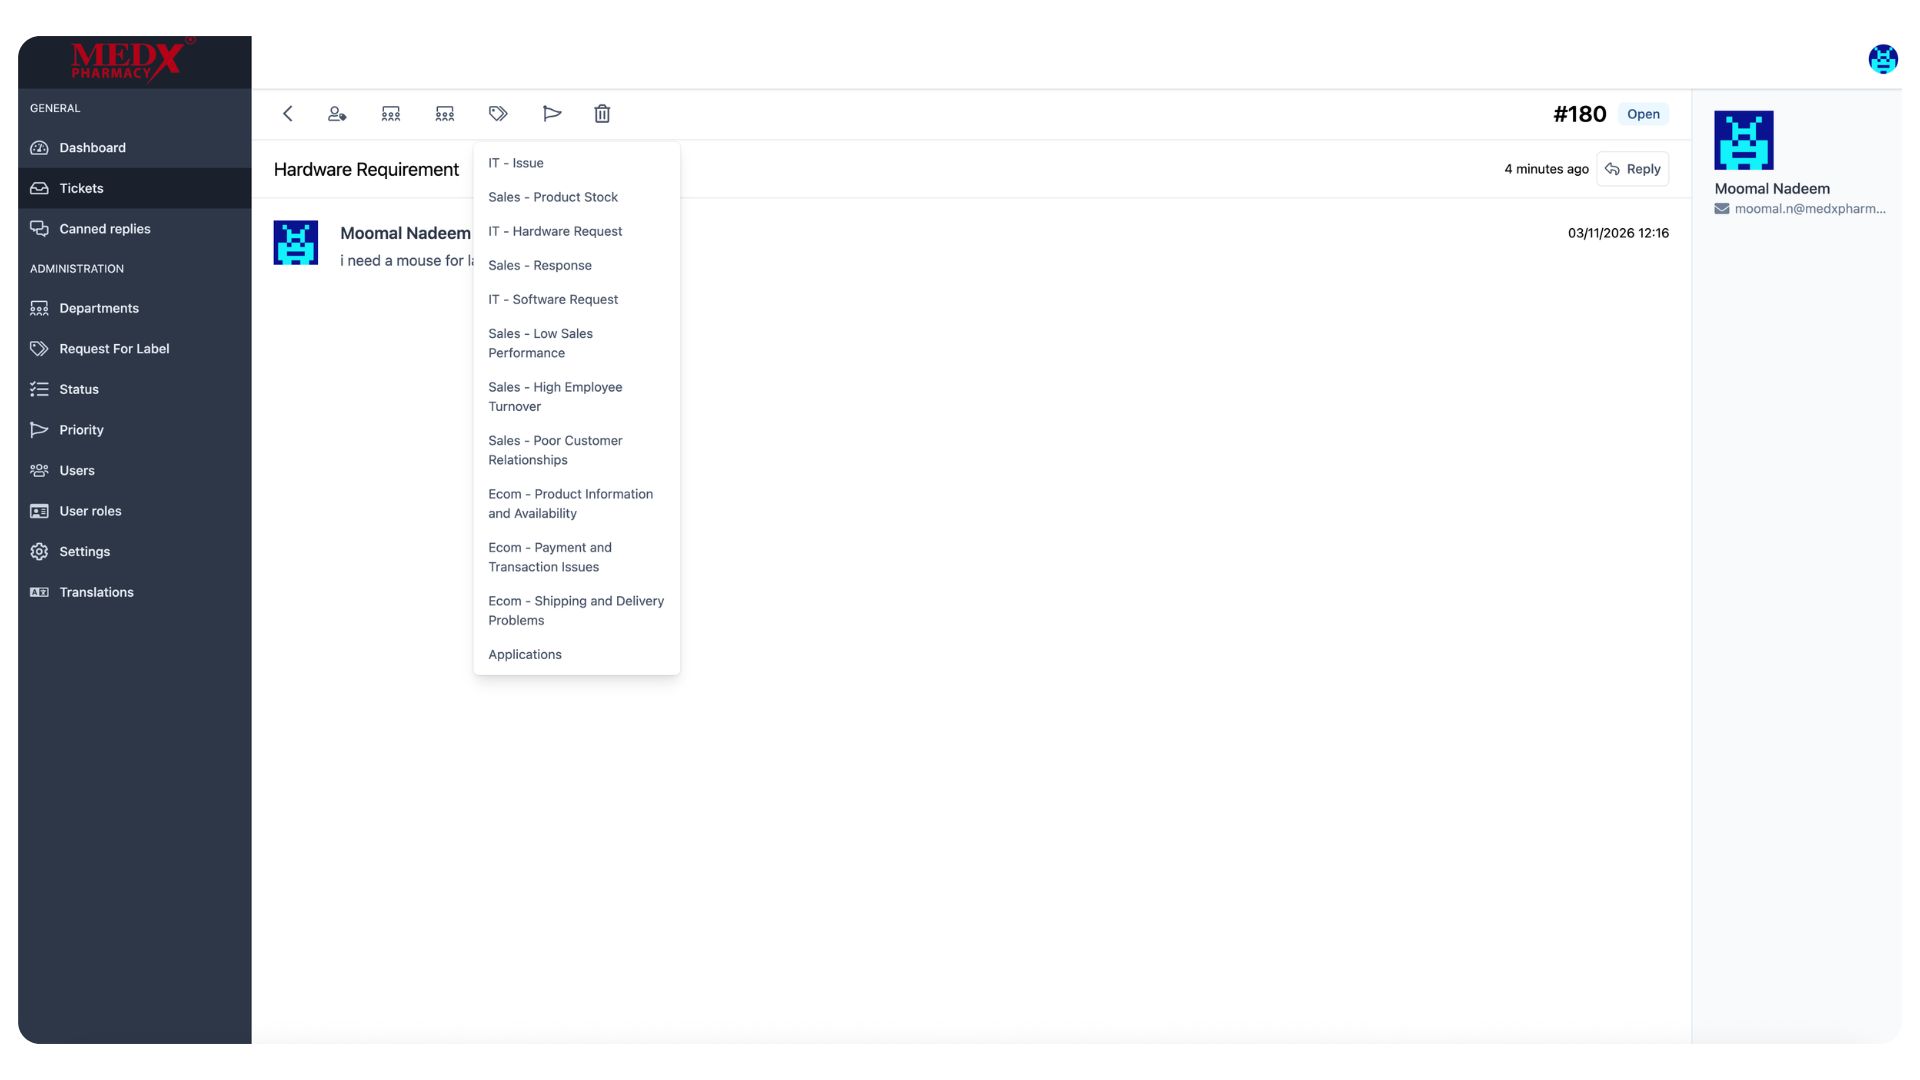
Ticket Label Assignment
This view shows the label assignment dropdown on Ticket #180, allowing an administrator or agent to tag the ticket with the most relevant label from the predefined list across all departments, such as IT - Issue, IT - Hardware Request, Sales - Product Stock, Ecom - Shipping and Delivery Problems, and more. Assigning a label helps categorize the ticket more precisely, making it easier to filter, track, and report on specific types of requests across the system.
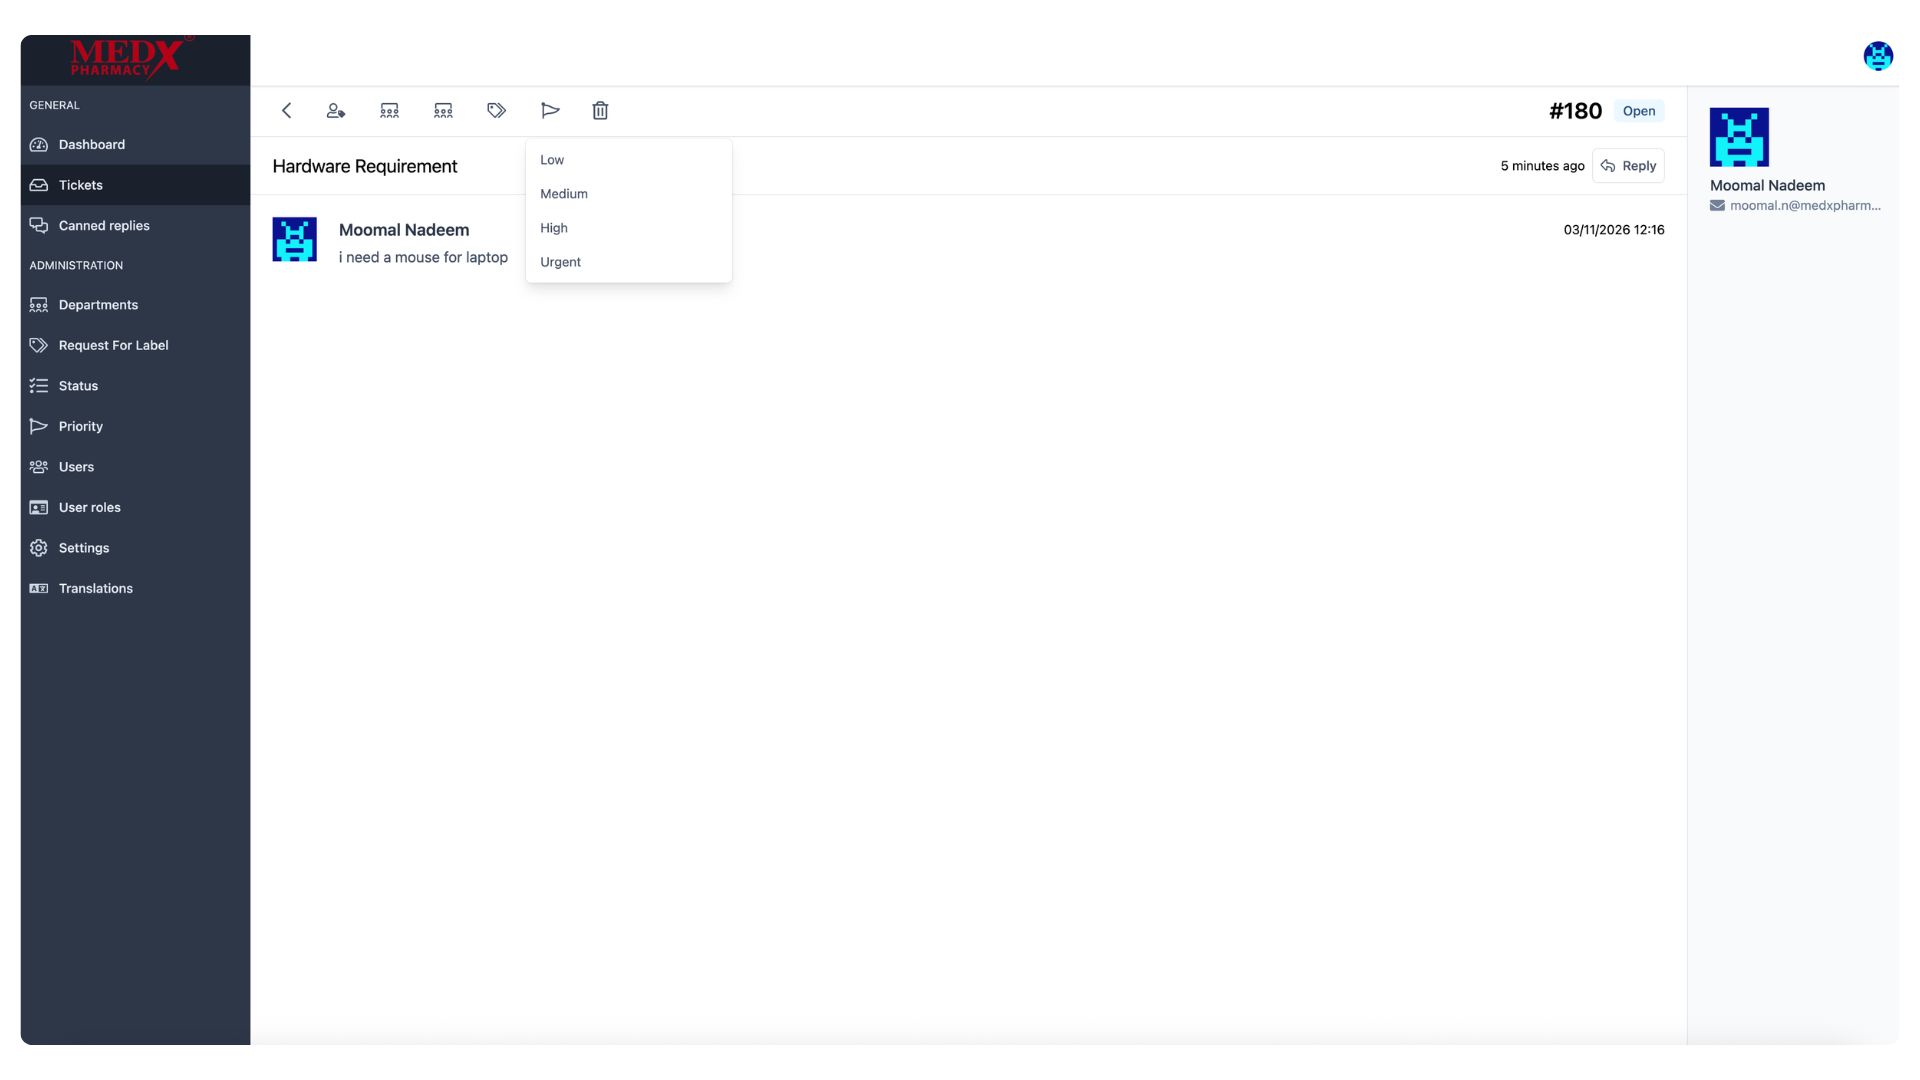
Ticket Priority Assignment
This view shows the priority assignment dropdown on Ticket #180, allowing an administrator or agent to set the urgency level of the ticket to Low, Medium, High, or Urgent. Assigning the correct priority ensures that critical issues are addressed first and helps the support team manage their workload effectively. The priority can be updated at any time directly from the ticket detail view as the situation evolves.
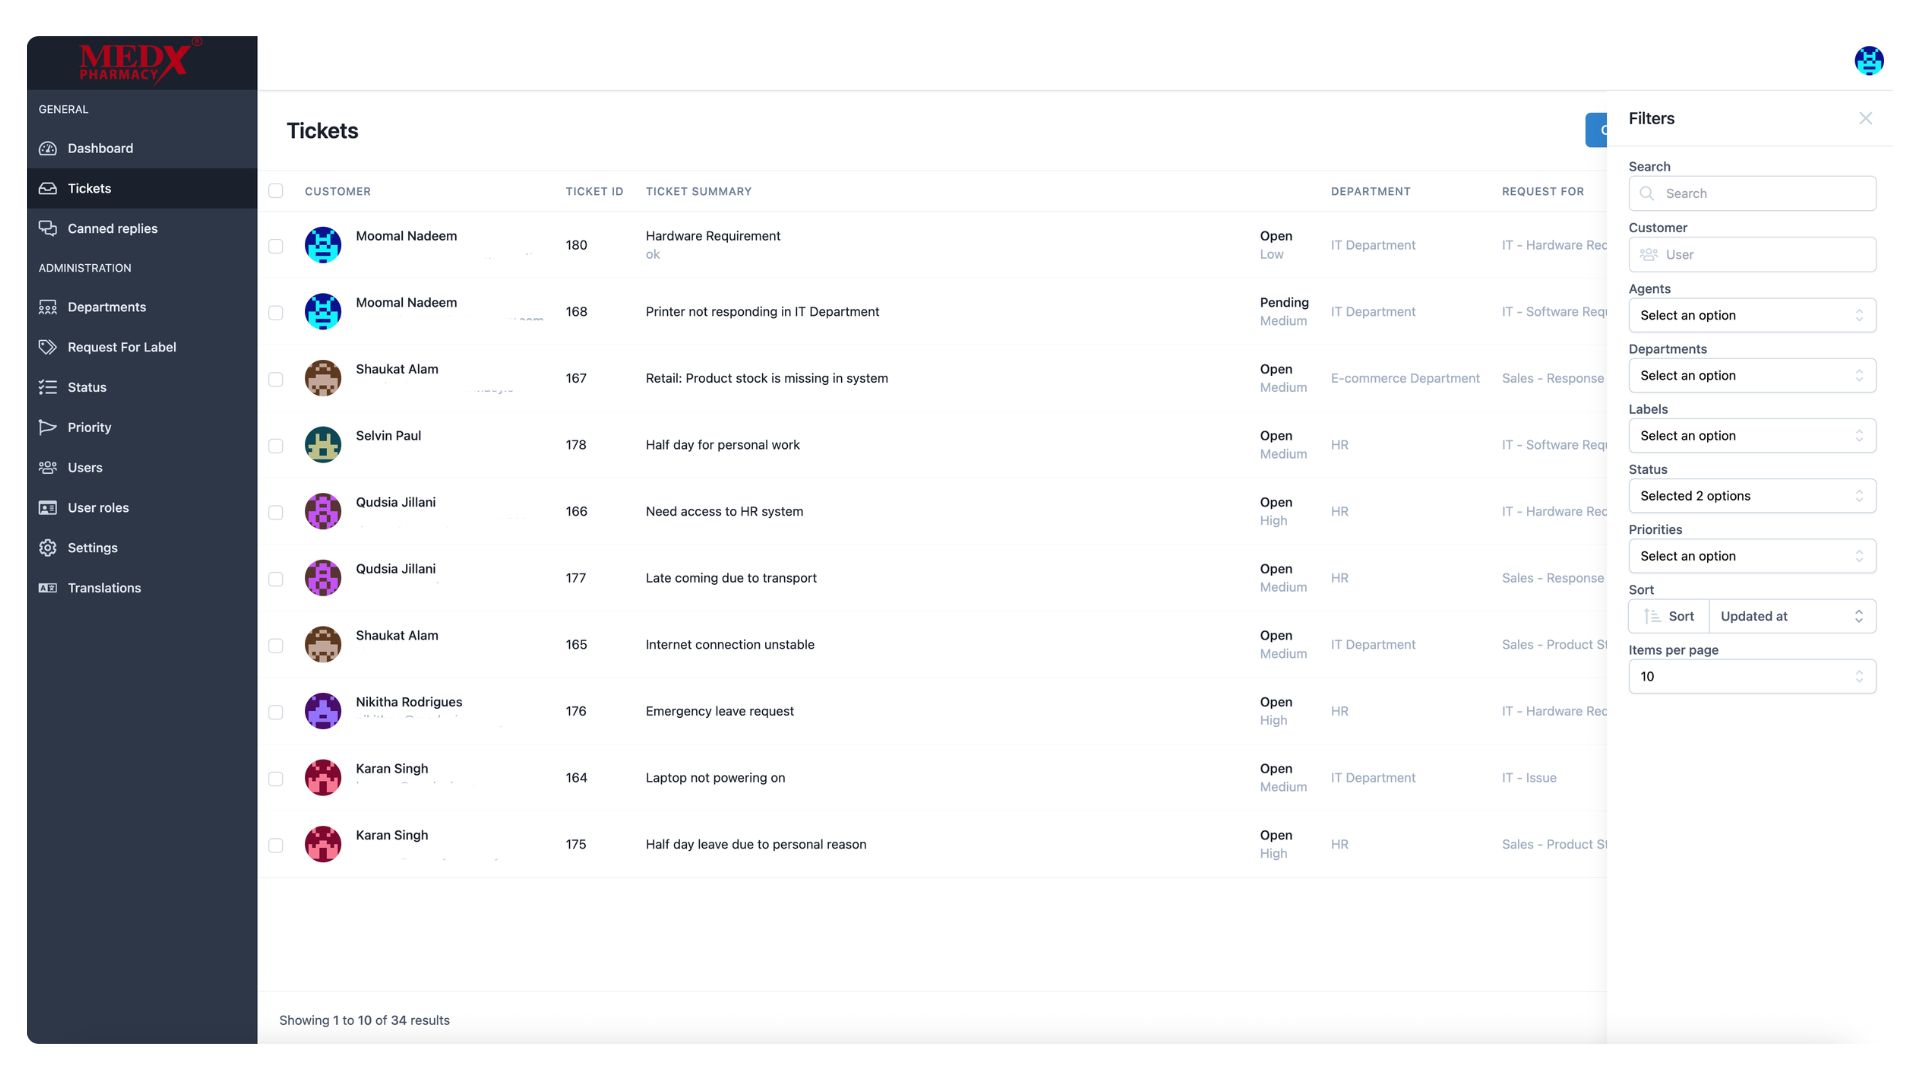
Ticket Filters sidebar
The Filters panel on the Tickets page allows administrators and agents to narrow down the ticket list using multiple filter options including Search, Customer, Agents, Departments, Labels, Status, and Priorities. Additional controls for Sort order and Items per page are also available to customize how results are displayed. This makes it easy to quickly find specific tickets and manage large volumes of support requests efficiently.
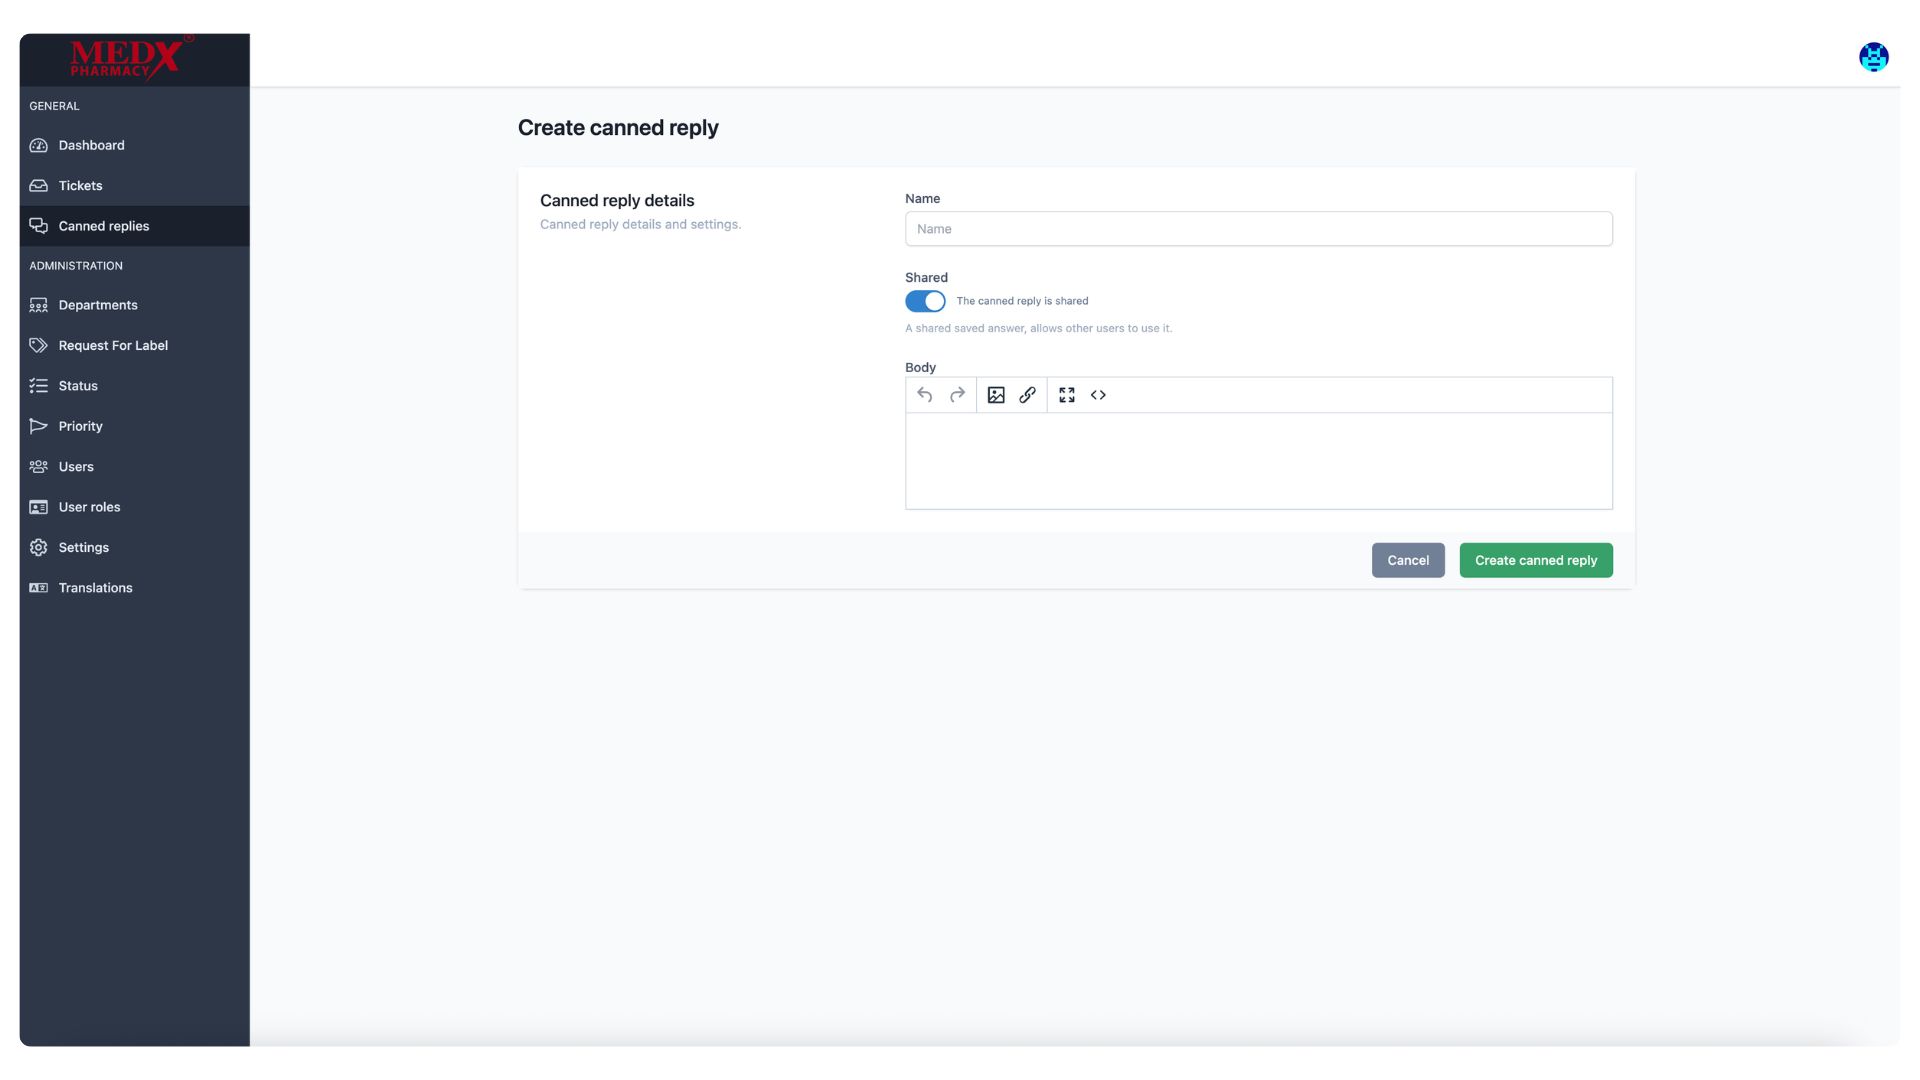
Create Canned Reply
The Create Canned Reply page allows administrators and agents to save pre-written responses that can be quickly used when replying to tickets with common or repetitive questions. Each canned reply requires a Name, a Body with the message content written using the rich text editor, and a Shared toggle that when enabled makes the reply available to all agents across the system. Once saved, these replies help the support team respond faster and maintain consistent communication with users.
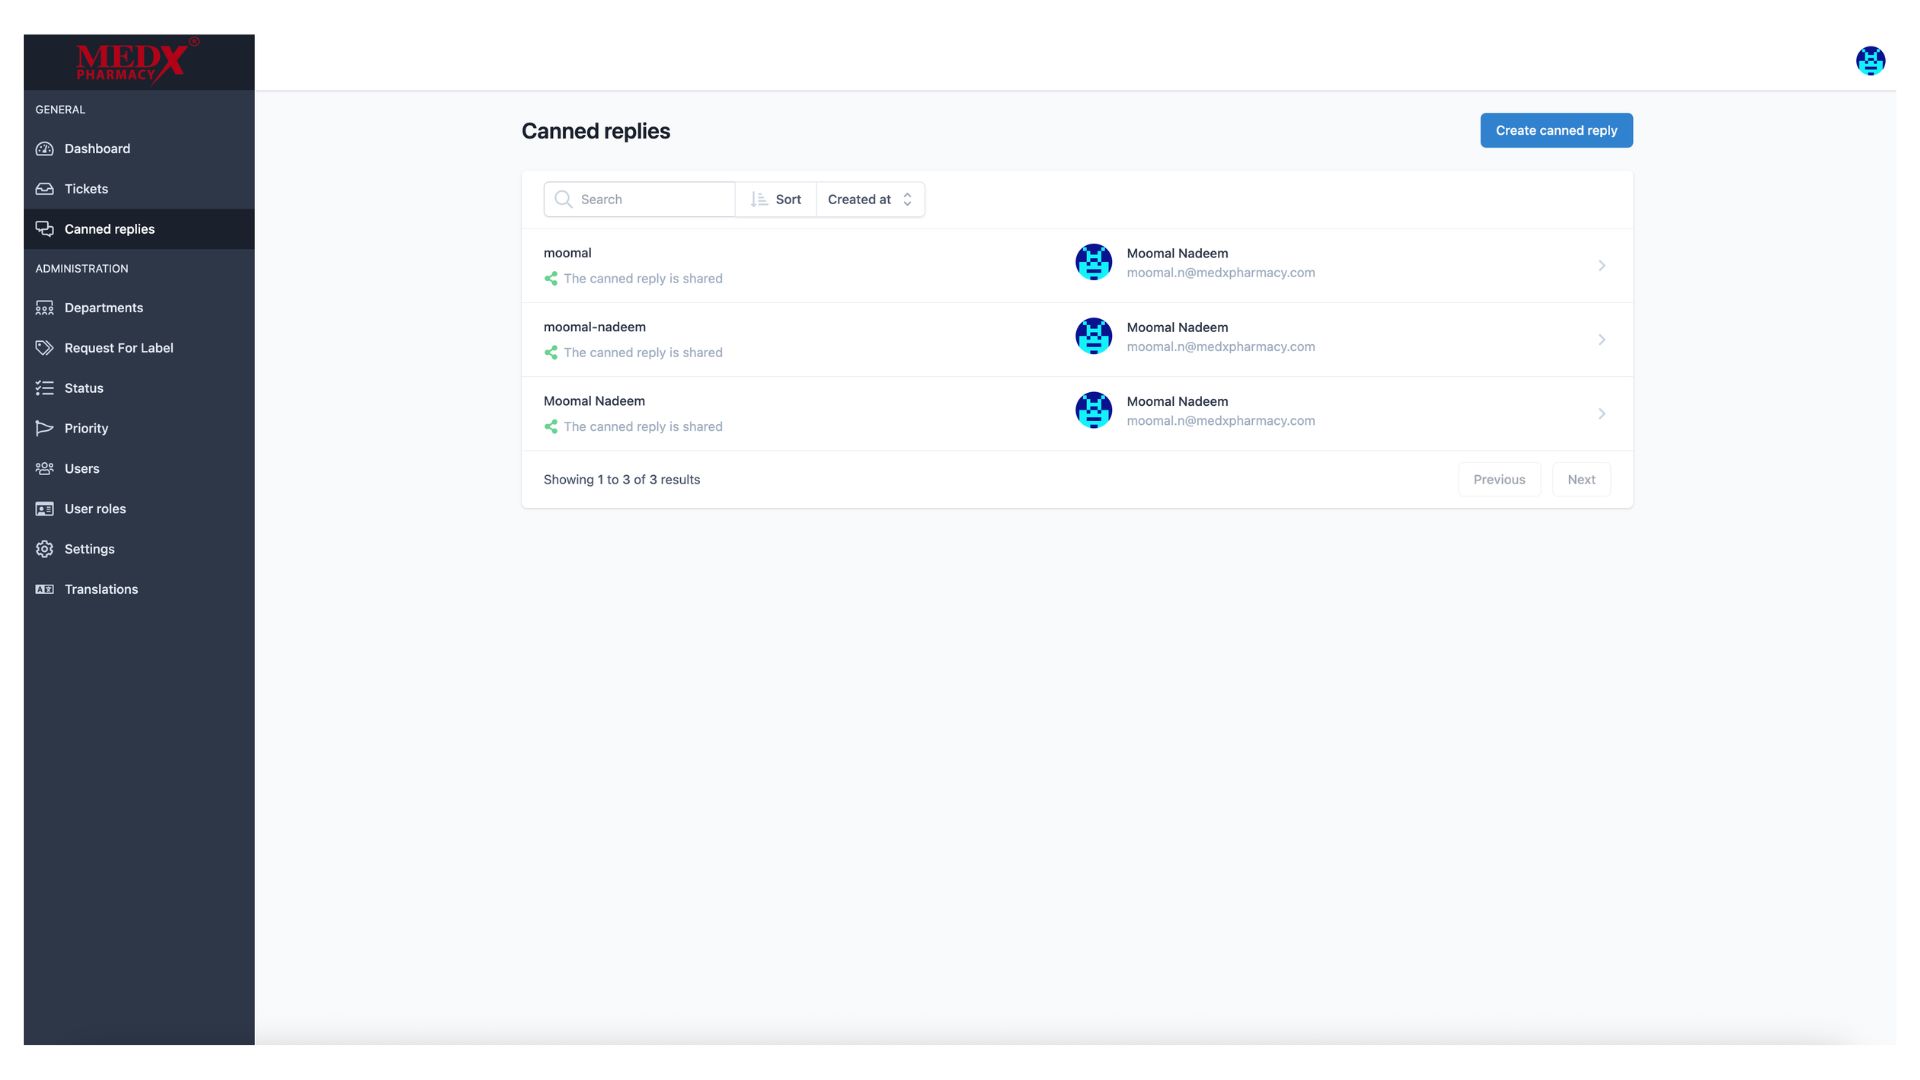
Canned Replies
The Canned Replies page displays all saved pre-written responses available in the system, currently showing 3 shared replies created by Moomal Nadeem. Each reply is marked as shared, meaning all agents can access and use them when responding to tickets. Administrators can search, sort, create new canned replies using the (Create canned reply) button, and click on any existing reply to view or edit its content.
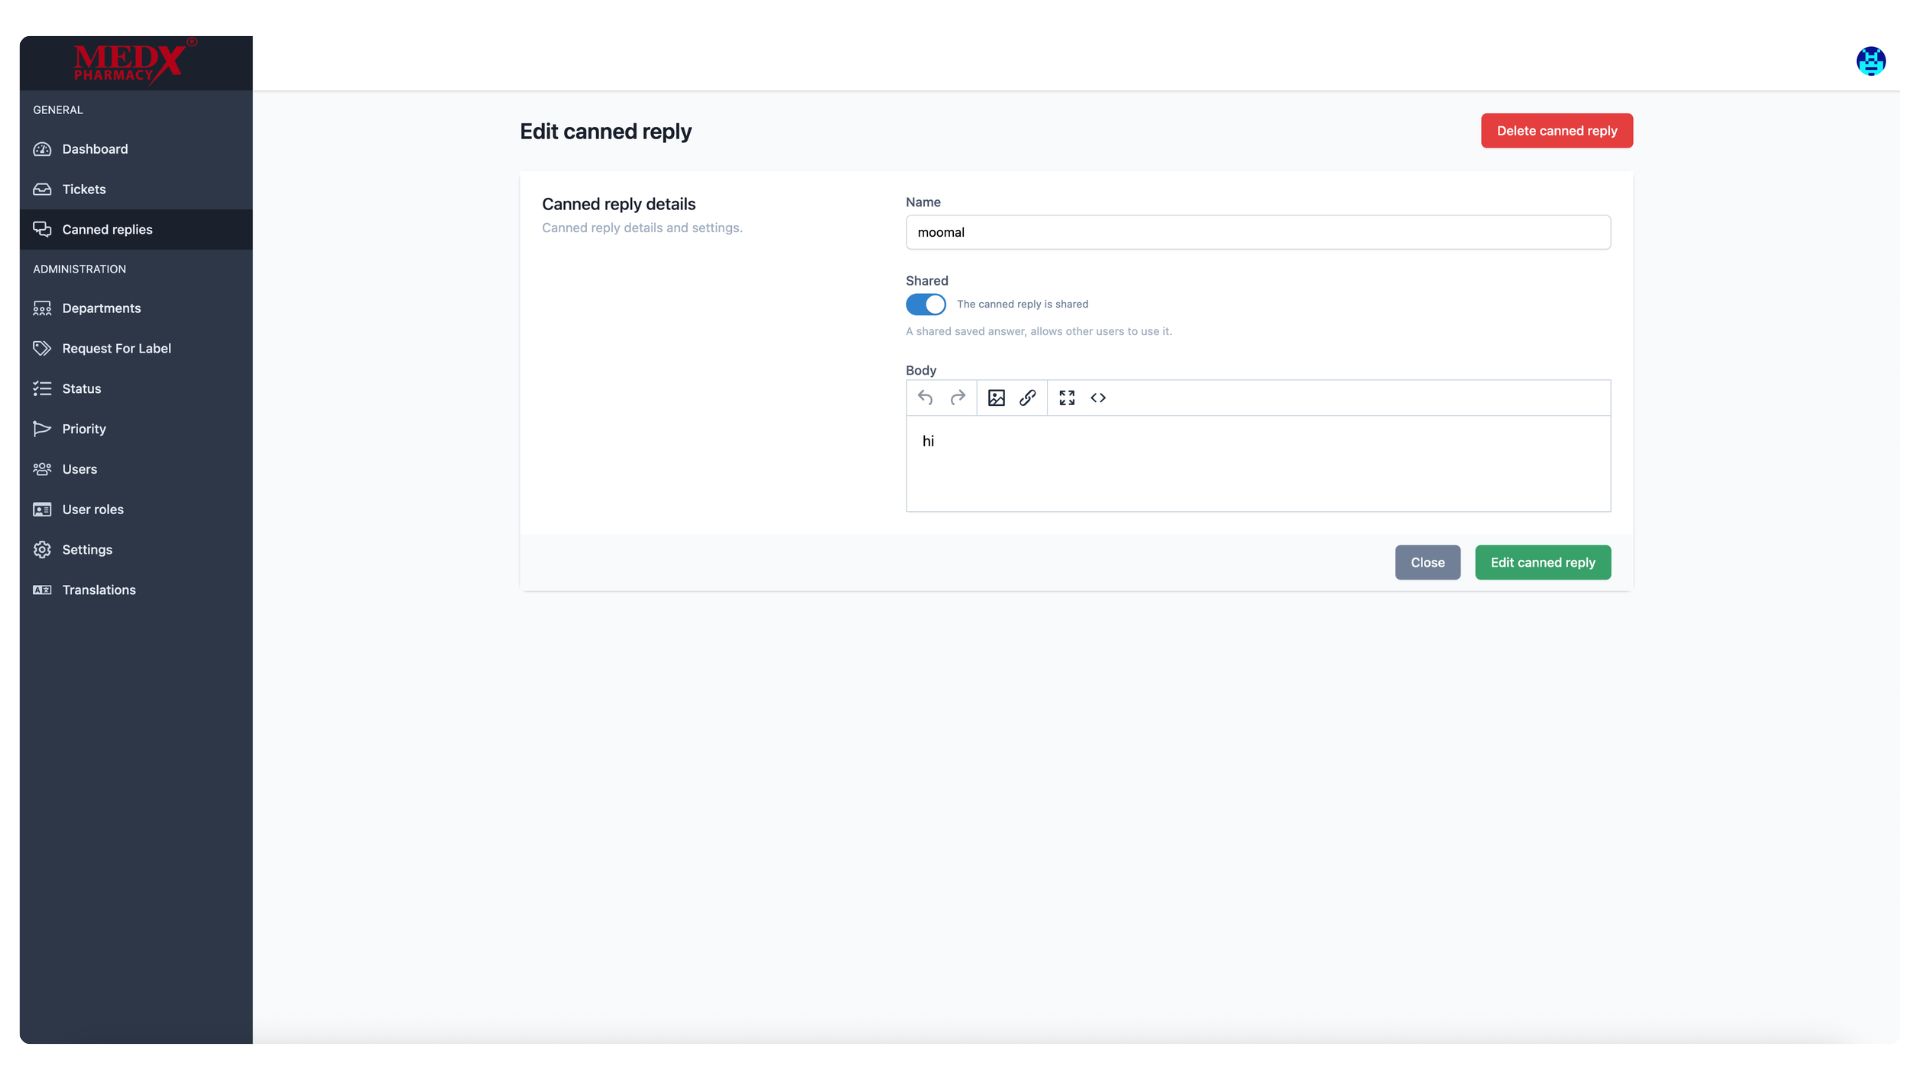
Edit Canned Reply
The Edit Canned Reply page allows administrators and agents to modify an existing pre-written response, currently showing the reply named (moomal) with a simple body message. Admins can update the Name, toggle the Shared setting, and edit the Body content using the rich text editor to refine the response as needed. A (Delete canned reply) button is also available in the top right corner to permanently remove the reply if it is no longer required.
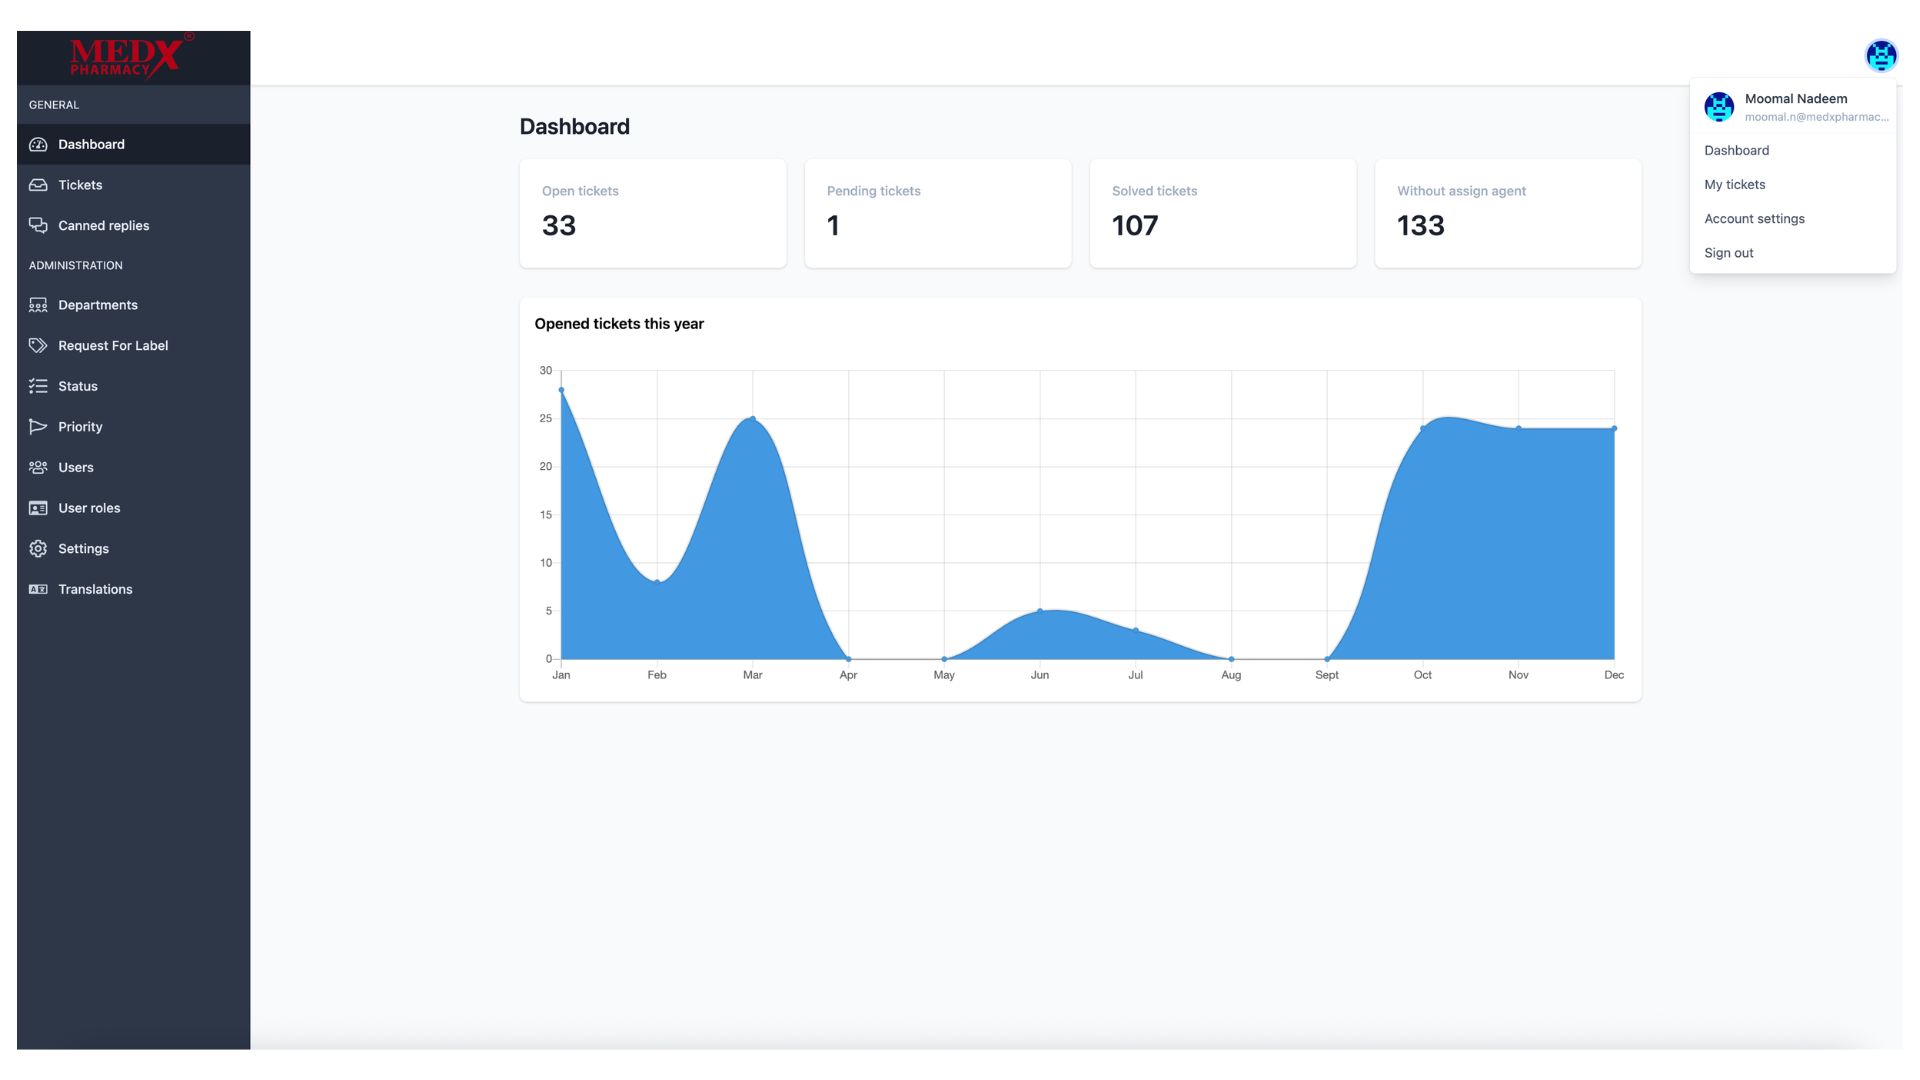
User Profile Dropdown
The user profile dropdown, accessible by clicking the avatar icon in the top right corner, displays the logged-in user's name and email — currently showing Moomal Nadeem. It provides quick navigation links to the Dashboard, My Tickets, and Account Settings, as well as a Sign Out option to securely log out of the platform. This menu gives users fast access to their personal account management without leaving their current page.
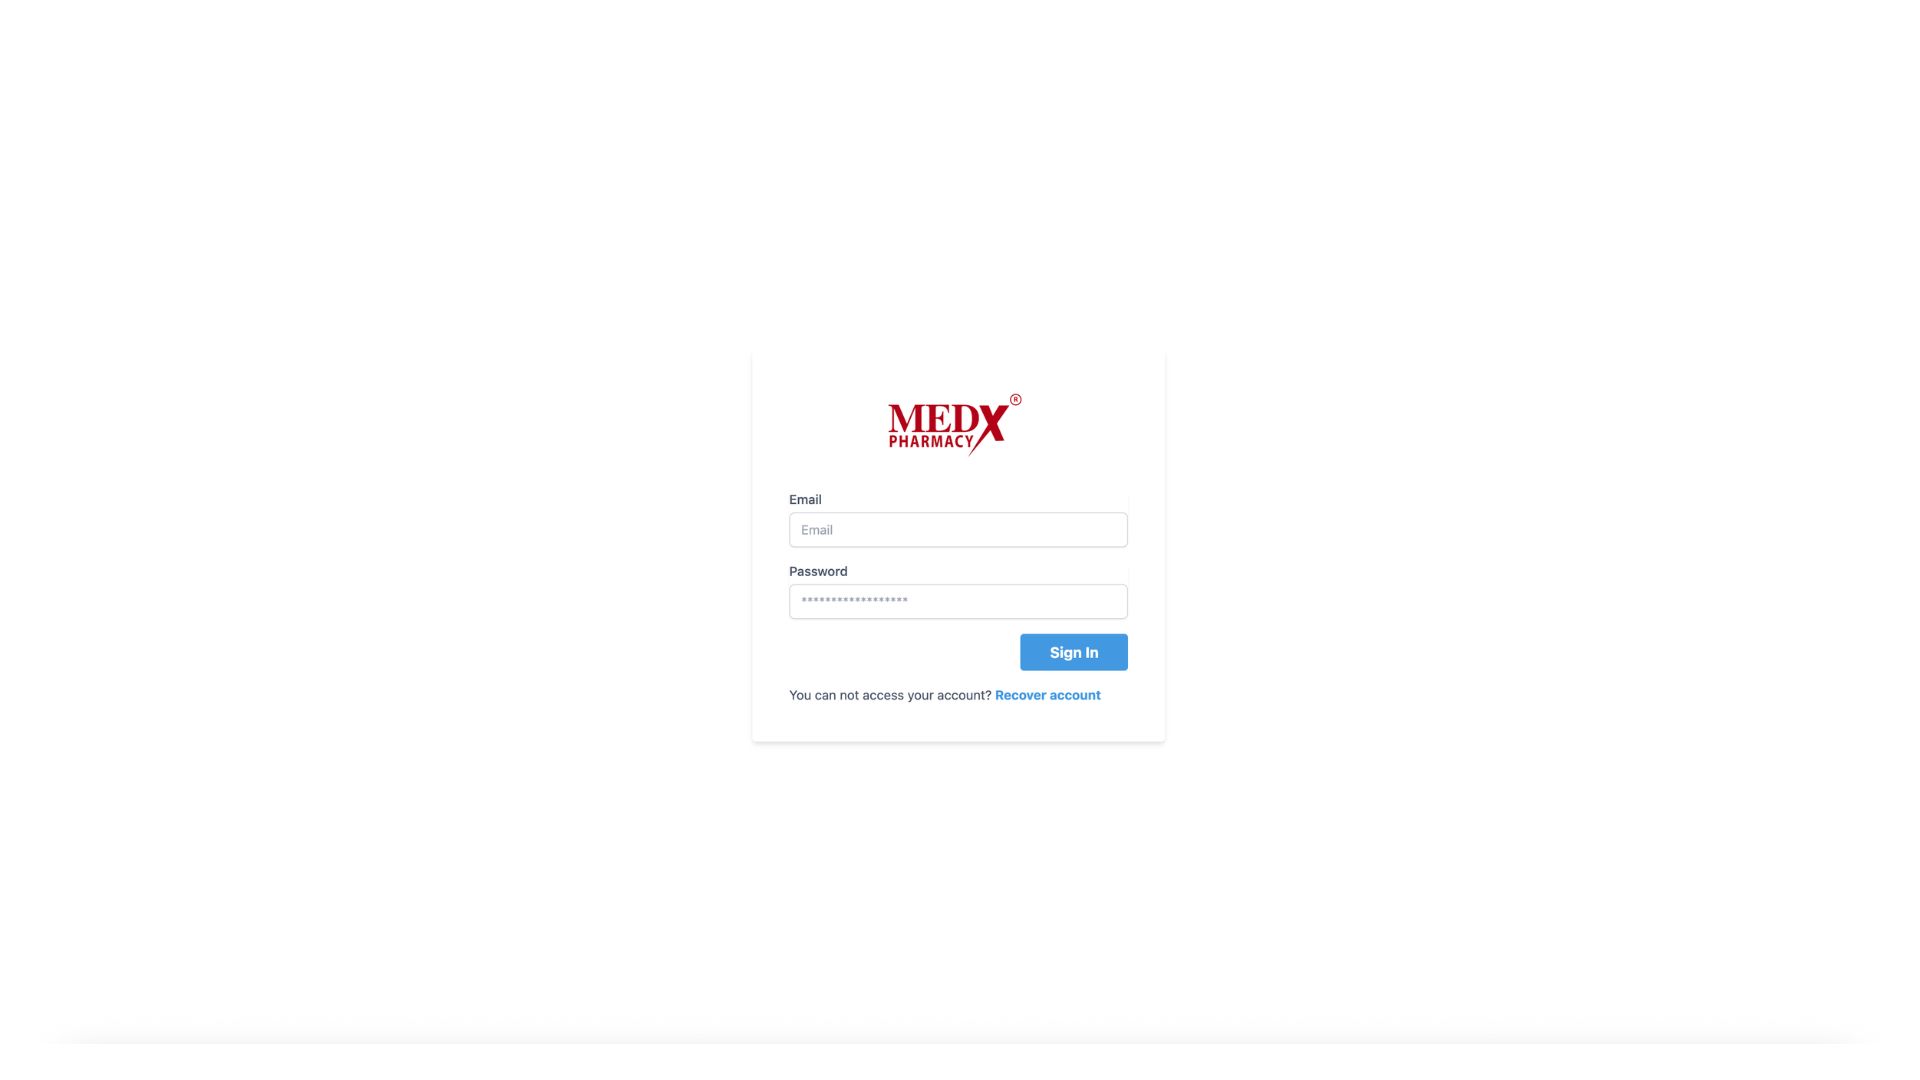
Login and reset password (Employee login)
This is the login form from employee side where regular users can enter their email and password to access the ticketing system. If they forget their password, they can click the (Forgot password?) link to navigate to the reset password page, where they can enter their email to receive instructions for resetting their password. This ensures that employees can securely access their accounts and recover access if needed.
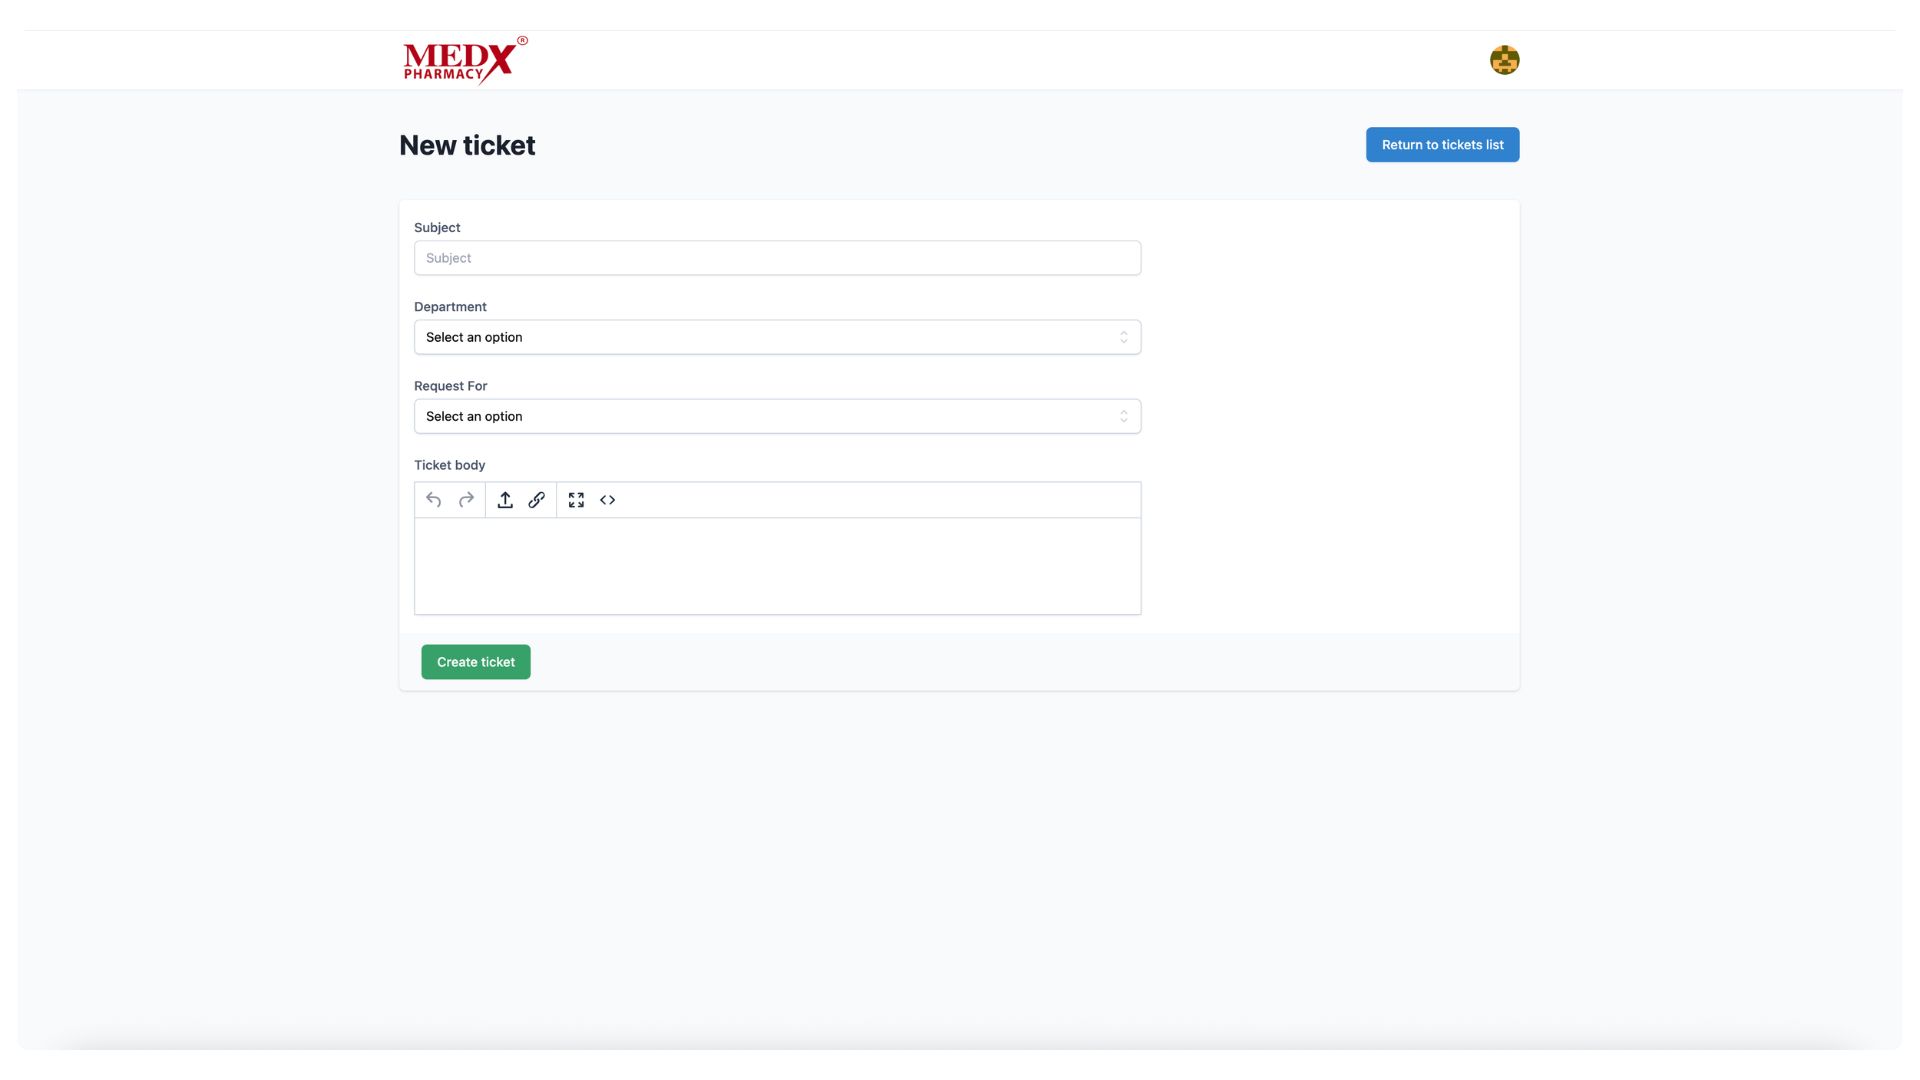
New Ticket (Employee View)
This is the employee-facing ticket creation page where regular users can raise a new support request by filling in the Subject, selecting a Department, choosing a Request For label, and writing the issue details in the Ticket Body using the rich text editor. Unlike the admin view, this simplified form does not include fields for Customer, Status, or Priority, keeping it straightforward for employees to submit their requests quickly. Once completed, clicking (Create ticket) submits the request to the relevant department for resolution.
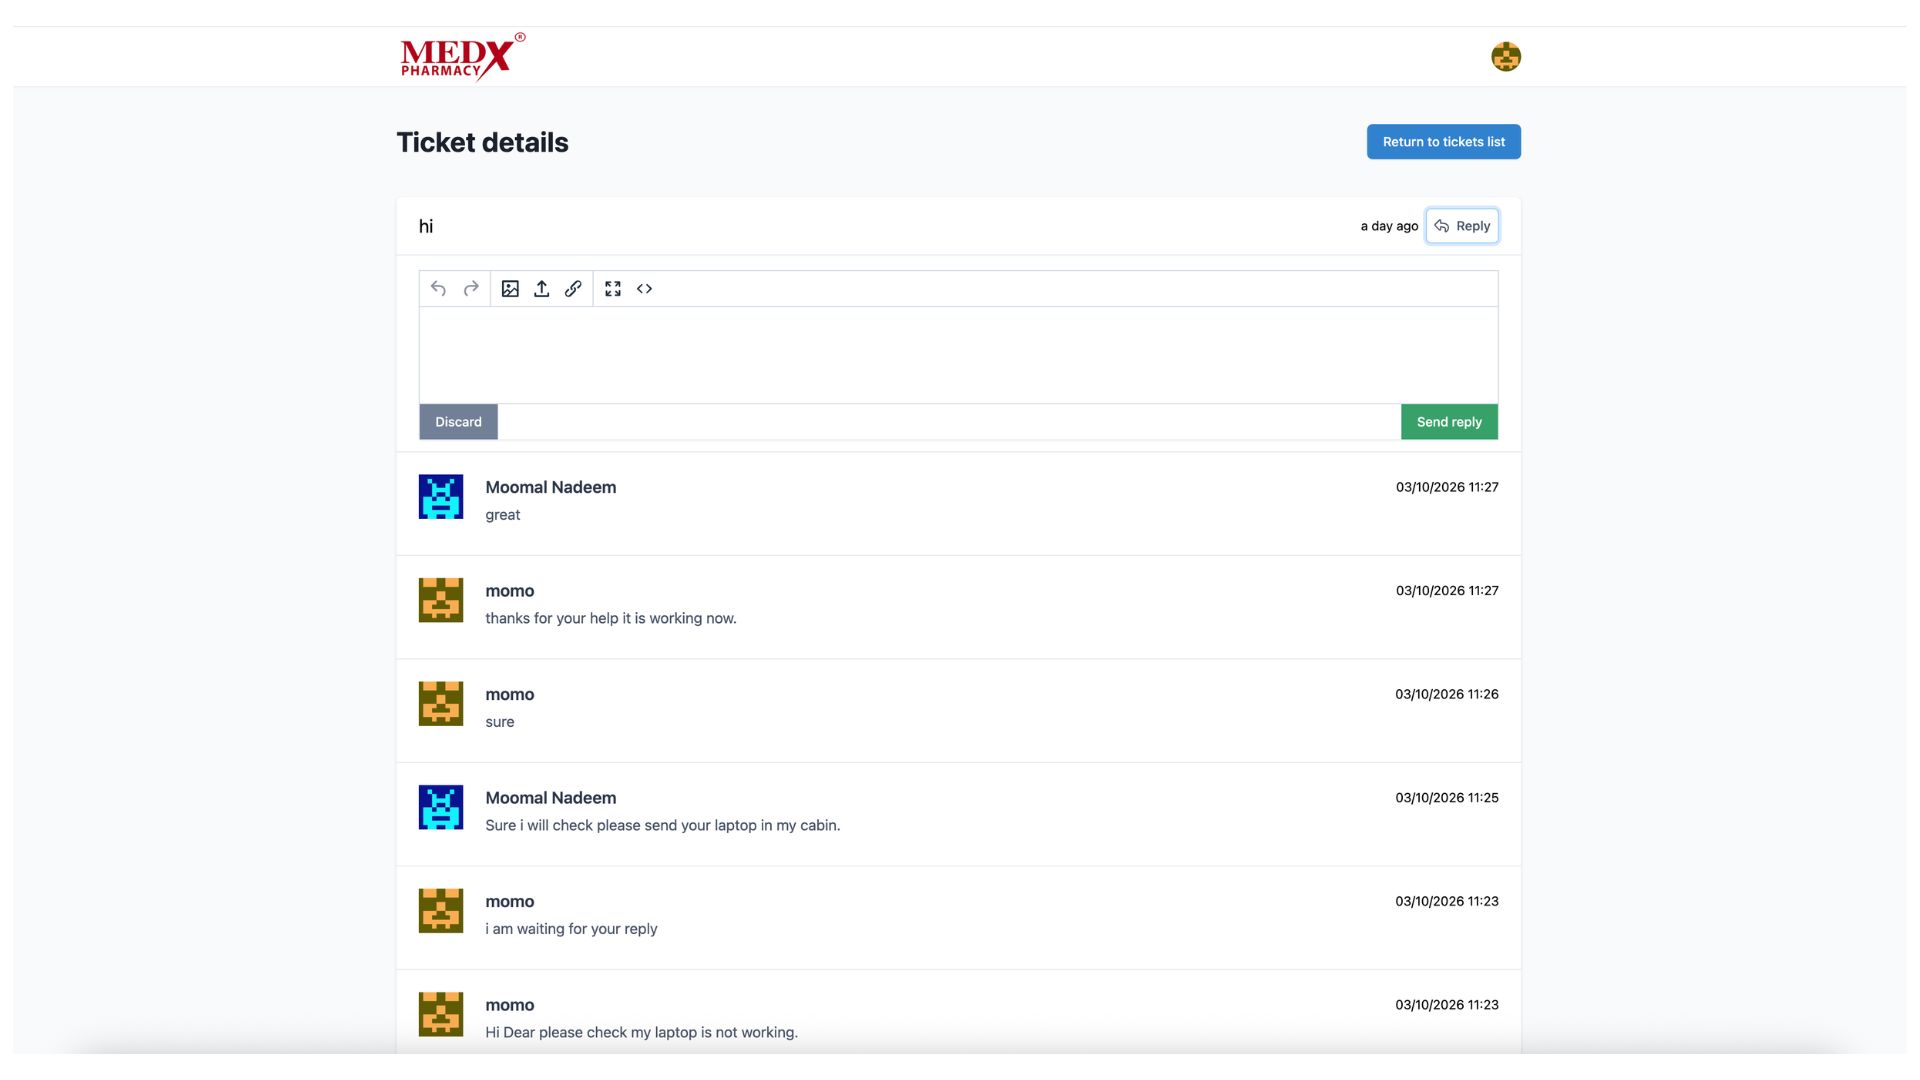
Ticket Details (Employee View)
The Ticket Details page shows the full conversation thread between the employee and the support agent for a specific ticket. In this example, the user (momo) reported a laptop issue and exchanged multiple messages with agent Moomal Nadeem, who acknowledged the issue and requested the laptop be brought in, ultimately resolving it. Employees can continue the conversation by clicking the (Reply) button, and can return to their ticket list using the (Return to tickets list) button at the top right.

Ticket Reply (Employee View)
This view shows the reply editor that appears when an employee clicks the (Reply) button on their ticket, allowing them to type and send a follow-up message directly within the ticket conversation thread. The rich text editor supports formatting, image uploads, and link insertion, giving employees flexibility in how they communicate their update. Once the message is ready, clicking (Send reply) adds it to the conversation, or (Discard) cancels the reply without saving.
Key Features
- Role-Based Access Control (RBAC)
- Complete Ticket Lifecycle Management
- Department & Agent Assignment
- Priority, Labels & Status Management
- Canned Replies & Conversation Threads
- System Configuration & Localization